
Winter Fairy
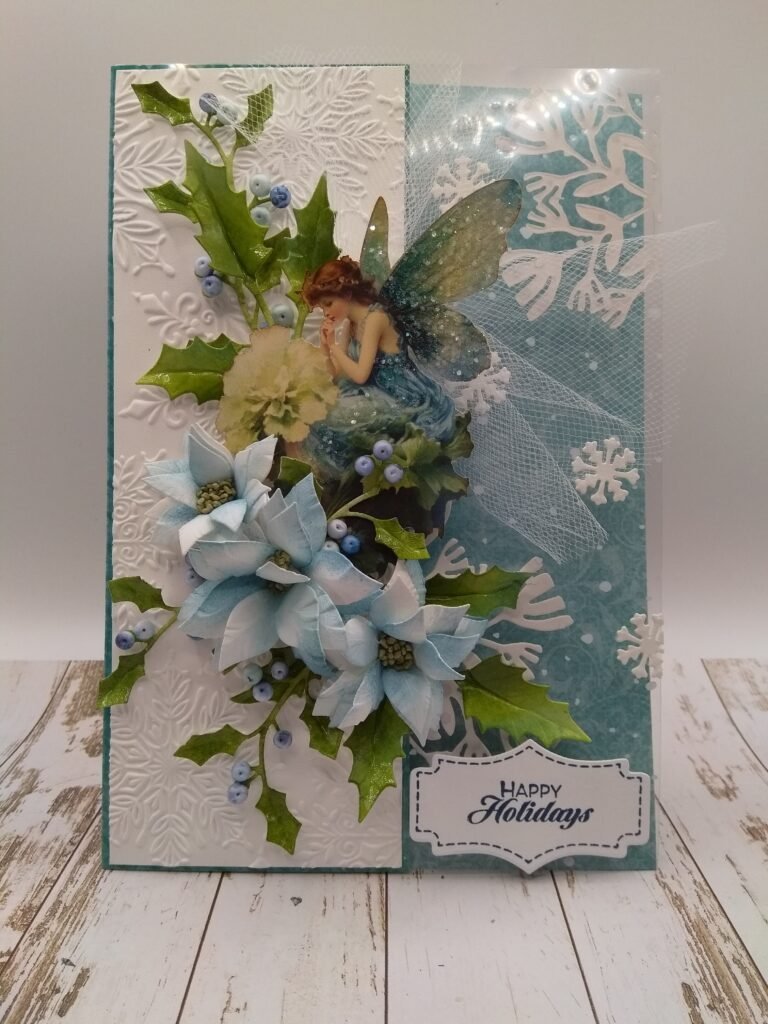
Hi Everyone, Els here. My turn again to give you some inspiration. This time I made a Winter fairy card for you, I hope you like it and that you will give it a try. Below you will find the step by step instructions! Have fun creating this! ( sorry for the kind of dark photos, but one of my lamps broke down)
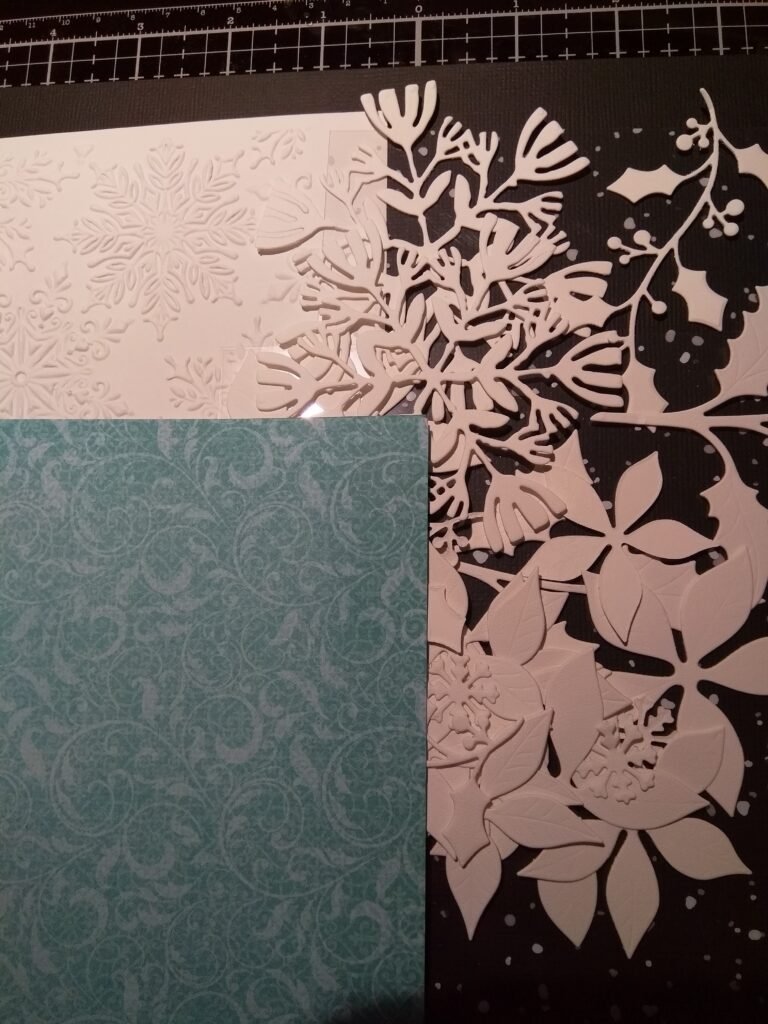
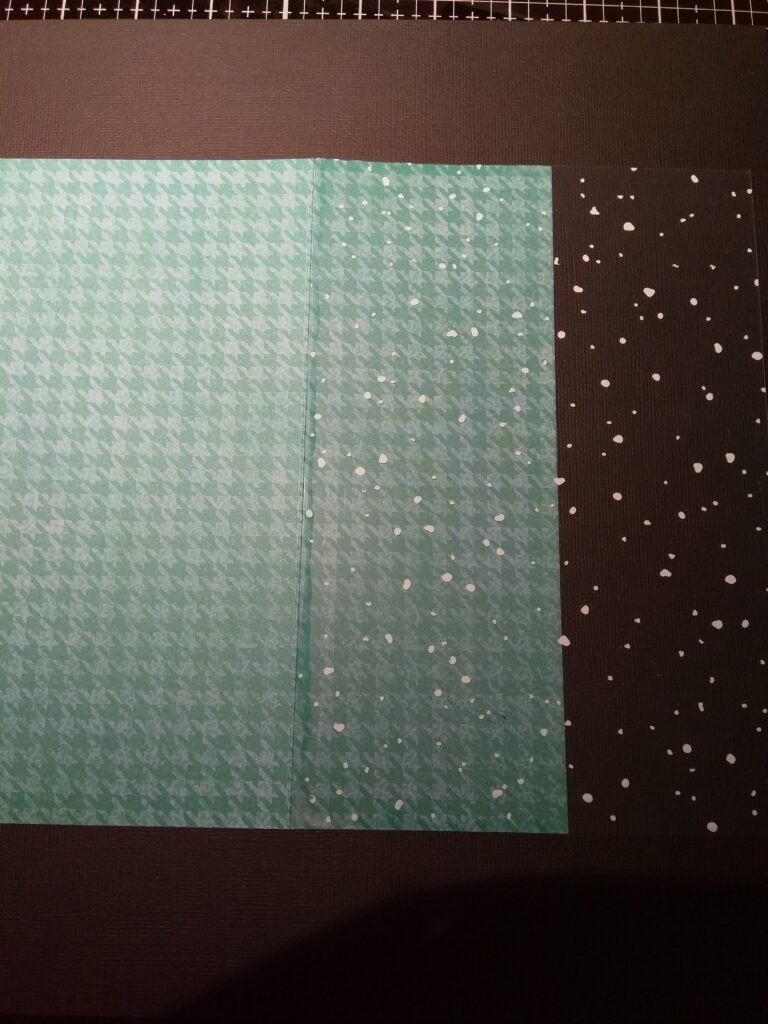
- Cut all the flowers, leaves, flower blossom, the paper for the card ( 71/2 x 11) then cut 1 part shorter till 3 inch, cut the acetate at 71/2 x 51/2.
- Glue the acetate on the small card part
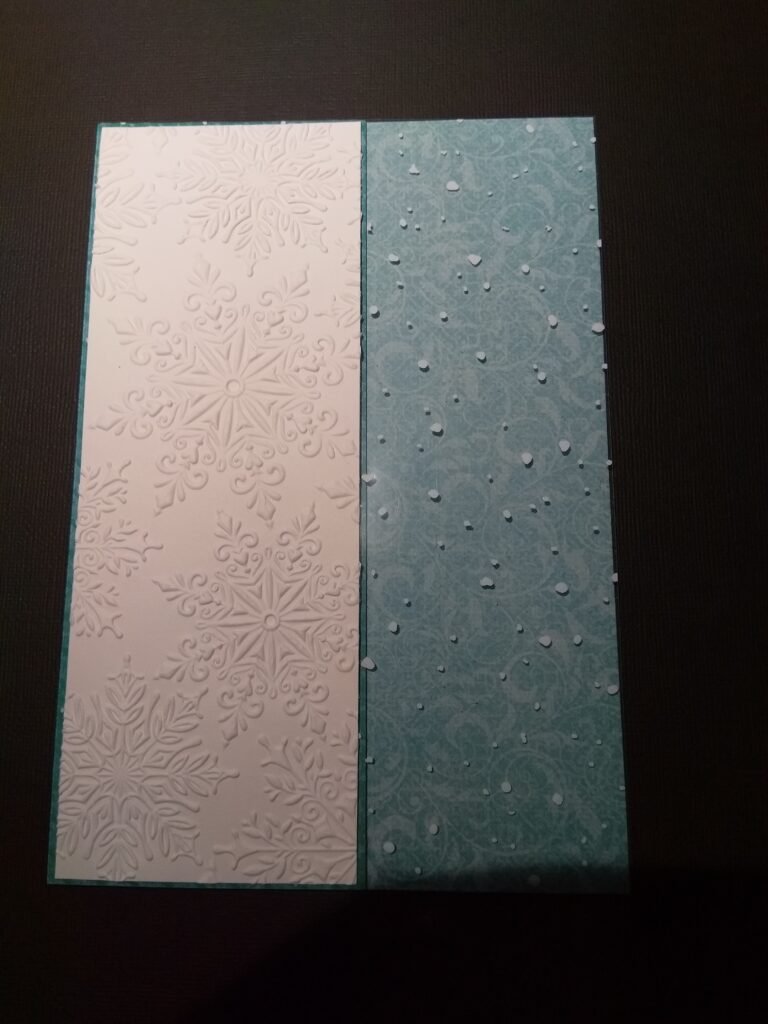
- Emboss a piece of White cardstock that fits on top ( 2 3/4 x 5 1/4 ) fold the card in half.
- Take the piece from the flower blossom die and cut it in half and adhere this behind the acetate.
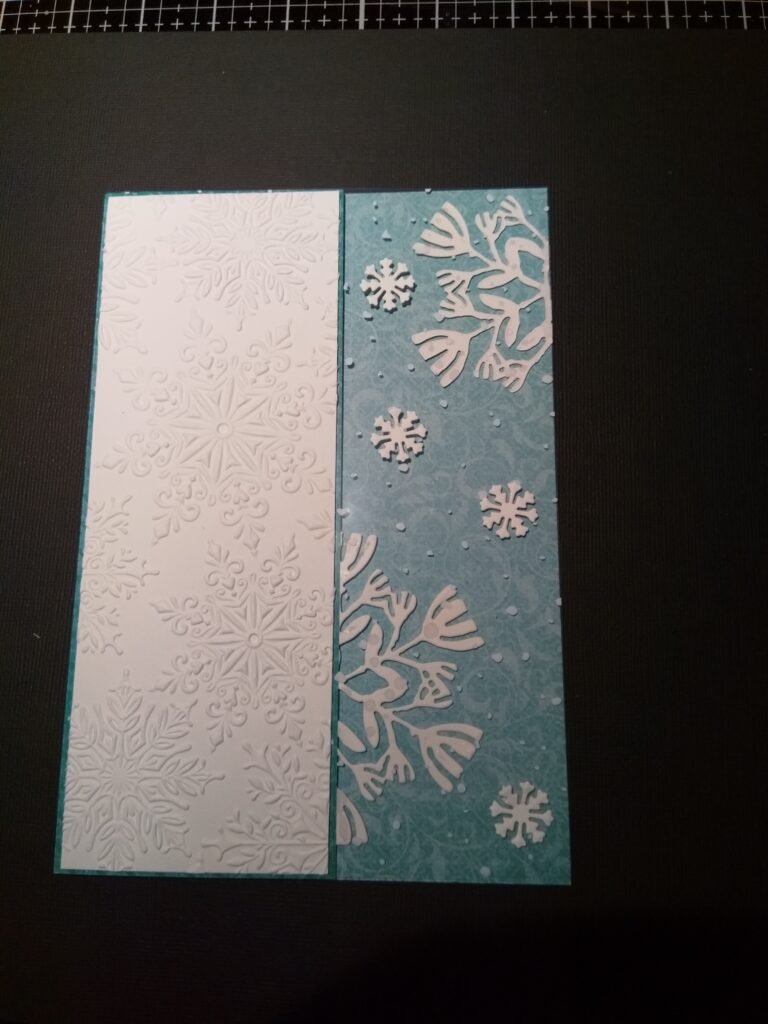
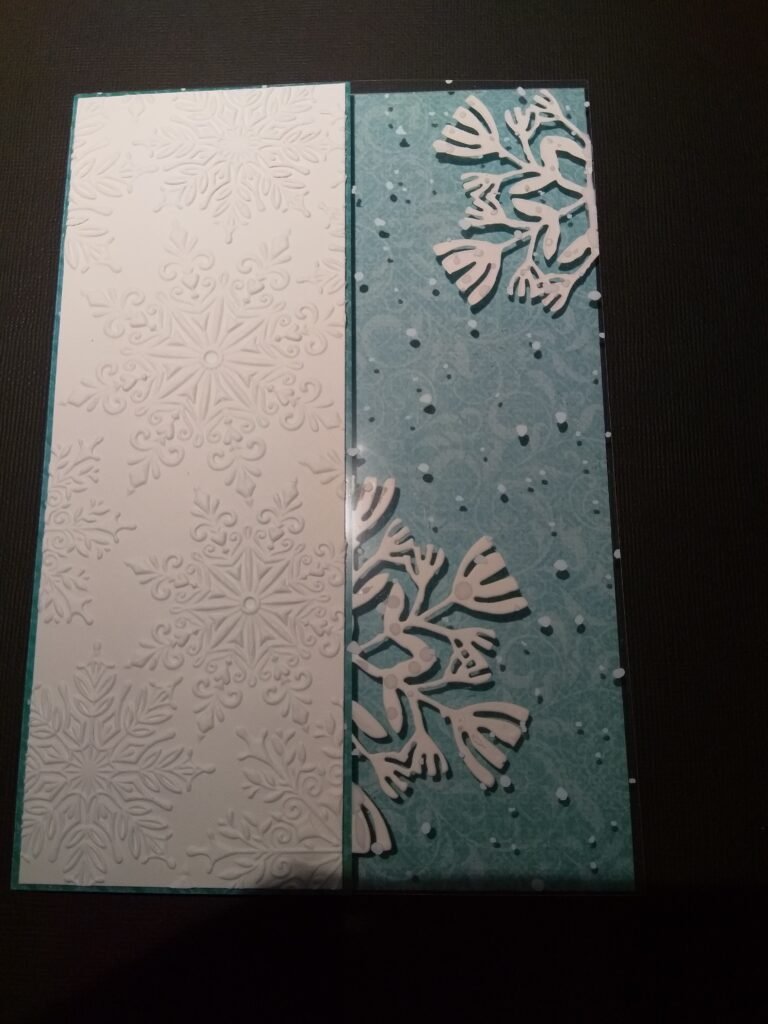
- Take the small snowflakes from the O christmas tree die and glue them on top of the acetate.
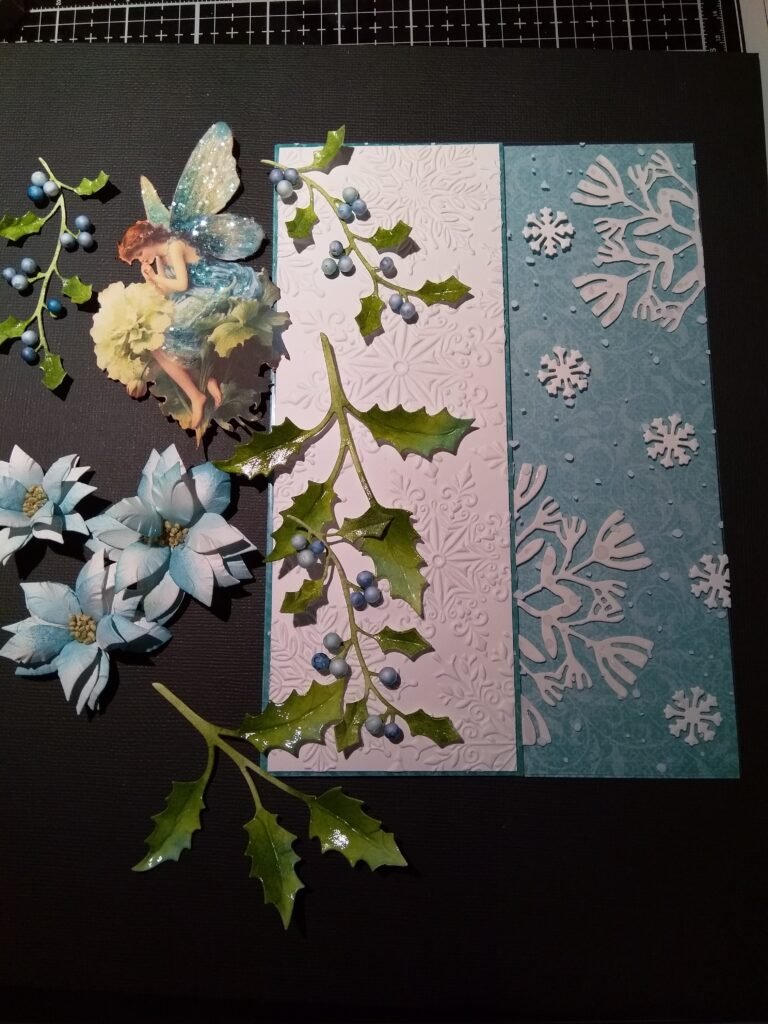
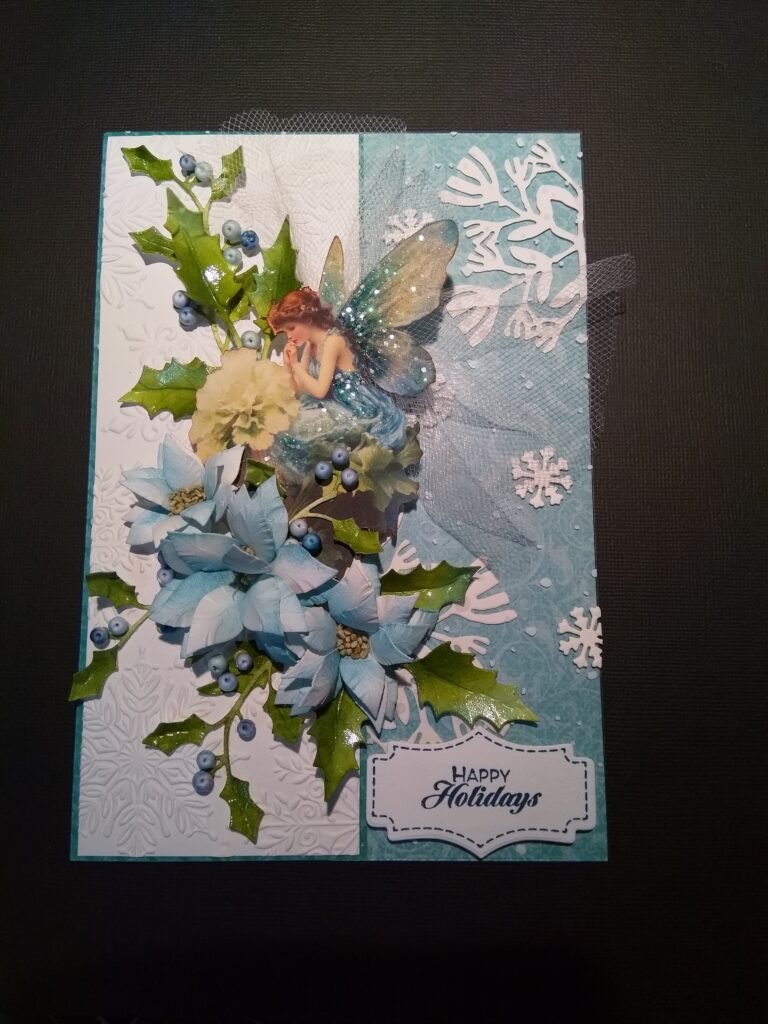
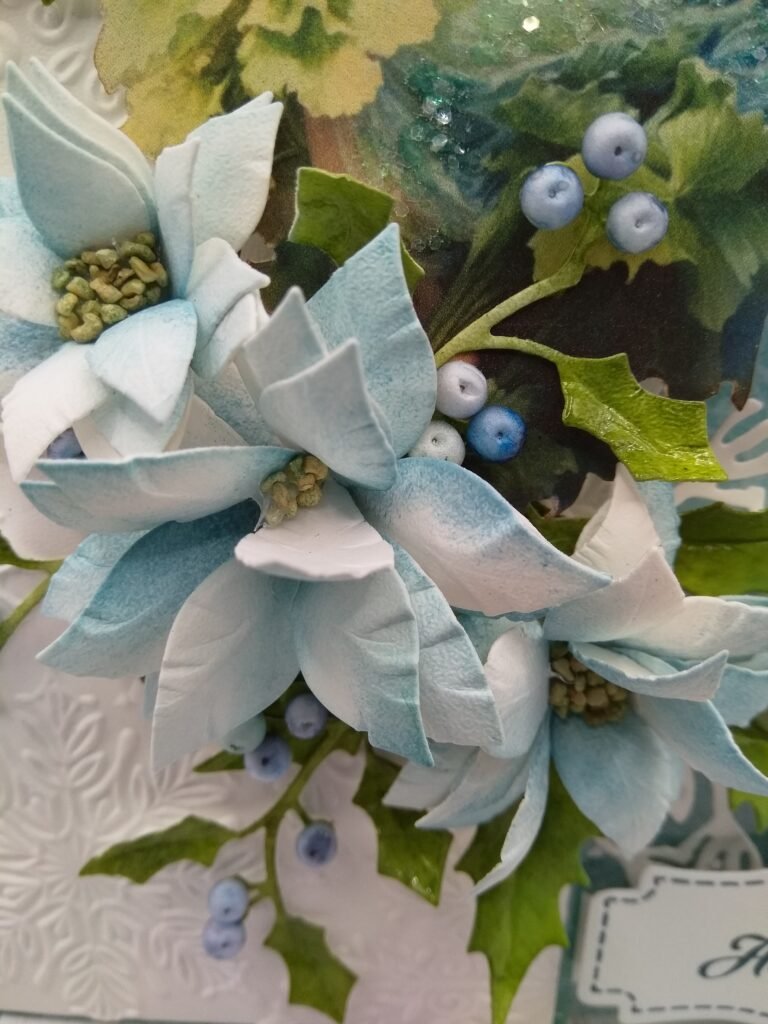
- Color, shape, and decorate all your flowers and leaves and Image.
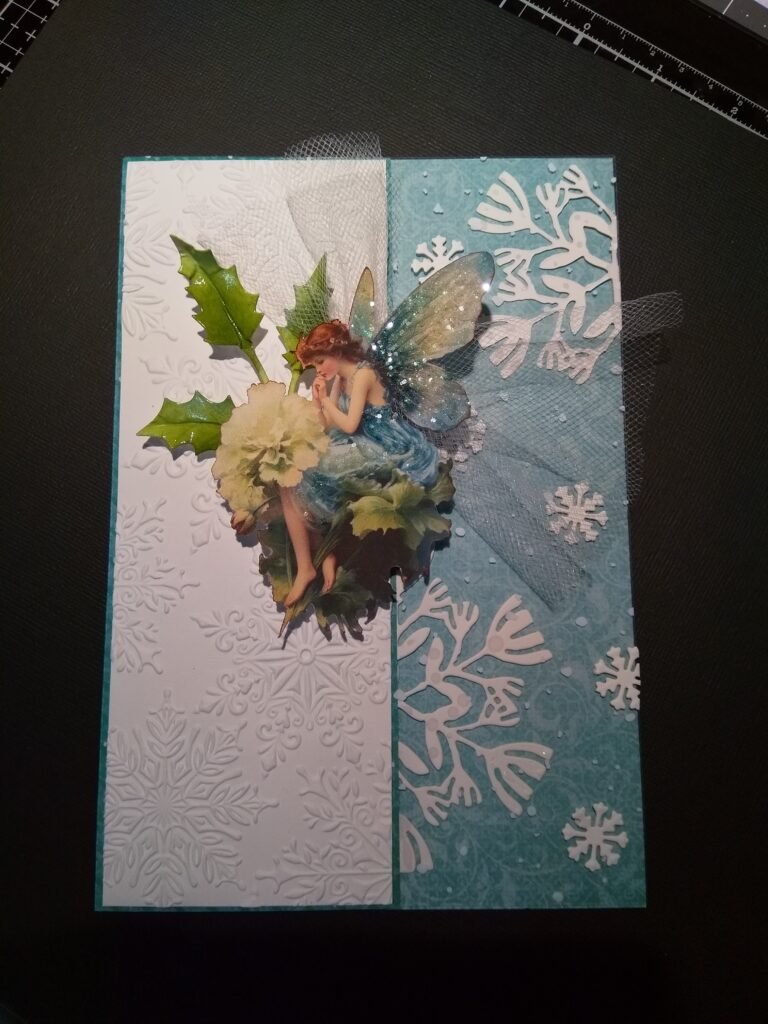
- I started with the Tule and the fairy, so the next few photos you will see how I build up the rest.
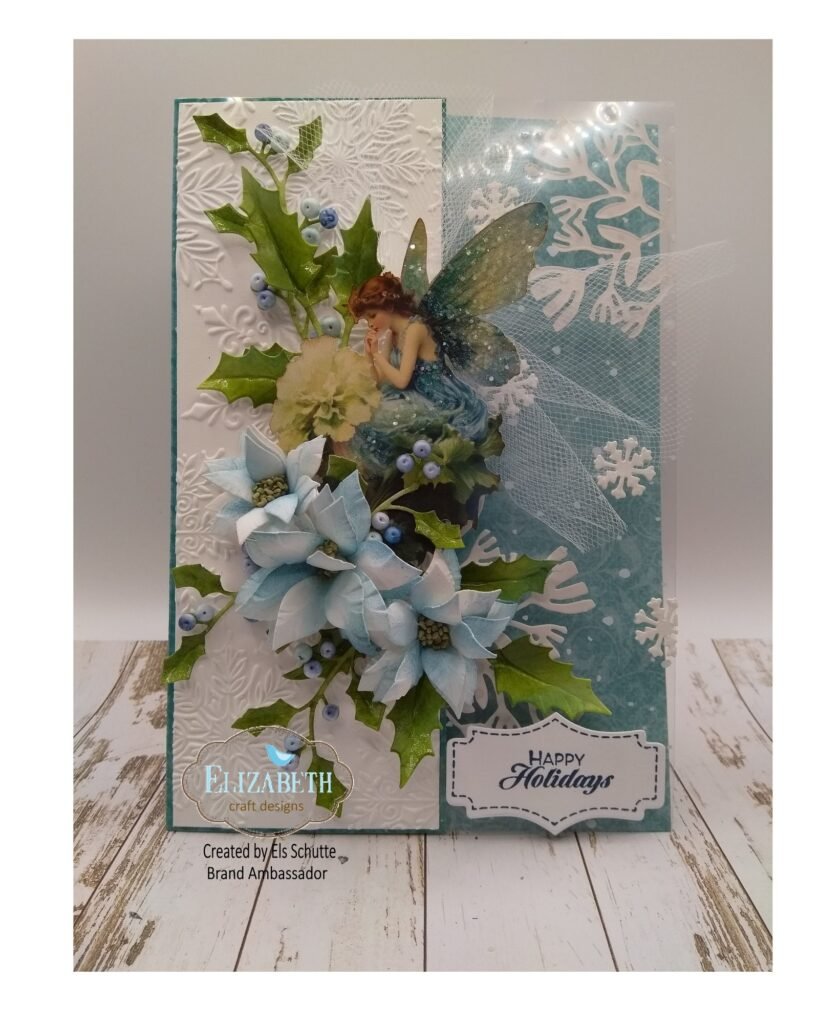
- Elizabeth Craft Design Materials:
- Florals 24
- Layered Labels Stamp and dies
- Paper Beautiful Brights
- O Christmas tree die
- Flower Blossom die
- Soft Finish Cardstock
- Other materials:
- Acetate
- Glitter
- Tule
- Ink : Dark Blue
- Embossing folder
- Prills
- Foamballs
- Image fairy is on my blog.