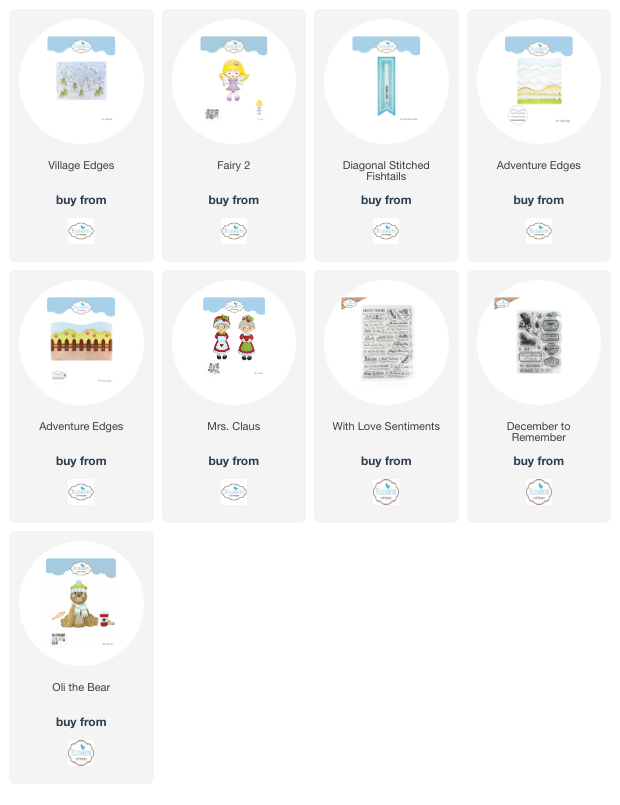
Get well soon rescue dog
Hi everyone, Sylvia here today on the blog for you. Let me kick off the new year by wishing you all a very happy, healthy and creative new year! I am happy that I am part of this amazing design team for another year, so hopefully I get to inspire you a bit more. For today I created this card for those unlucky ones who might have had a little accident during their wintersports. In fact, you can use this card for anyone, who has been in some sort of accident or hurt themselves. Let's get started!
Step 1: cutting/diecutting:
- cut a base card of 20x15 cm (8 x 6 inch) and fold in half to make a 10x15 cm (4 x 6 inch) card
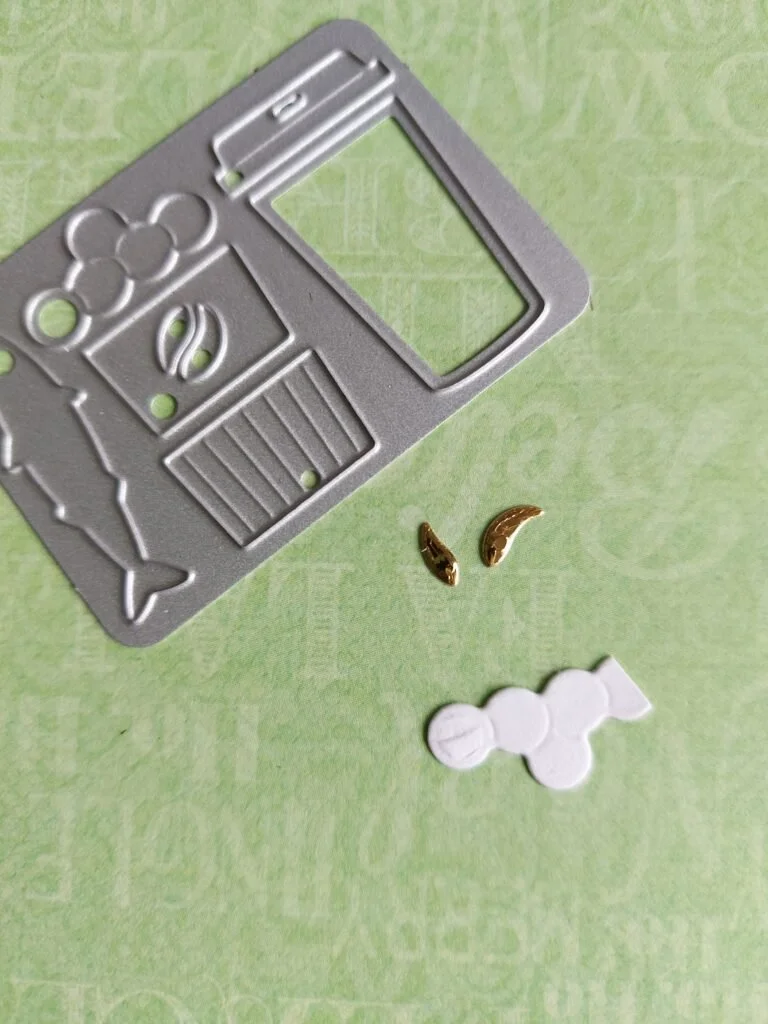
- diecut all parts from Oli the bear in soft finish cardstock and KEEP the dropouts (you will need some of them), the small coffee beans in gold cardstock, the snowball pile in soft finish cardstock
- diecut the shawl top part (as shown in the photo) from currogated card 2x.
- diecut 2 hairbands and 1 heart from set 1991 (mrs. claus) or set 1793 (fairy 2 for the hairbands)
- diecut a handful of trees in various shades of green from set 1691 (village edges)
- diecut the landscape from set 1625 adventure edges
- diecut a smaller banner from set 1329 stitched fishtail banners


Step 2: Colouring
- Colour Oli's belly, feet, eyespot DROPOUTS, snout and smallest neckhair in shades of light brown (as shown in the photo) and his eyespots in a darker shade of the same brown. His pupils and tip of the nose are the darkest shade of the same brown.
- colour the currogated cardstock in shades of brown distress ink (I used brushed corduroy) and glue them together to form a rum barrel. Draw some brown lines with a marker (see photo for reference)
- colour the 2 hairbands red
- edge the landscape in blue, and colour the top half of your card in the same blue (I used distress ink tumbled glass).
- colour the top snowball of the pile in pink, this will become the dog's tongue (see photo for reference)
Step 3: Assembling
- Use the light brown DROPOUT eyespots to form the dogs ears, glue them in place before glueing on the face. Glue on the soles to the hind legs, the belly to the body, both neckhair pieces and his front legs.
- glue the 2 currogated shawl parts together to form the barrel, use the golden coffee beans to form the tap of the barrel, glue the 2 red hairbands as straps on either side of the barrel and glue it to the dogs body.
- cut the pink snowball as shown in the photo and slide/glue it under the snout of the dog
- now assemble the face to the head (the ears are already in place) and glue the head to the body. Make sure both reds straps from the barrel end under the dogs head, as if he is carrying the barrel.
- form some nice snowy hills from the landscape edges and assemble them to the bottom half of the base card.
- glue the trees randomly at the edges of the snowy hills


Step 4: Stamping
- stamp some snowflakes large, medium and small (from set CS 311) in light blue distress ink on the blue sky as well as on the snowy hills.
- stamp Get well soon (set CS 329) in the bottom right corner
- stamp 'sending lots of love' on the banner and glue the tiny heart on. Glue the banner in place to the upper left corner.

And there you have it, you have successfully transformed Oli the bear into a rescue dog. Wasn't it fun doing that? If you have any questions, please do not hesitate to ask, I'd be happy to help you out!
Happy crafting!
Love
Sylvia