
ATC Journal Page
Hi everyone, Heather here to share a fun Art Journal ATC page. I’m so happy to be sharing my first post here on the Elizabeth Craft Designs blog.

First, I started by cutting my base with the ATC special kit pocket page. I used paper from Devid’s Abandoned Paper collection.

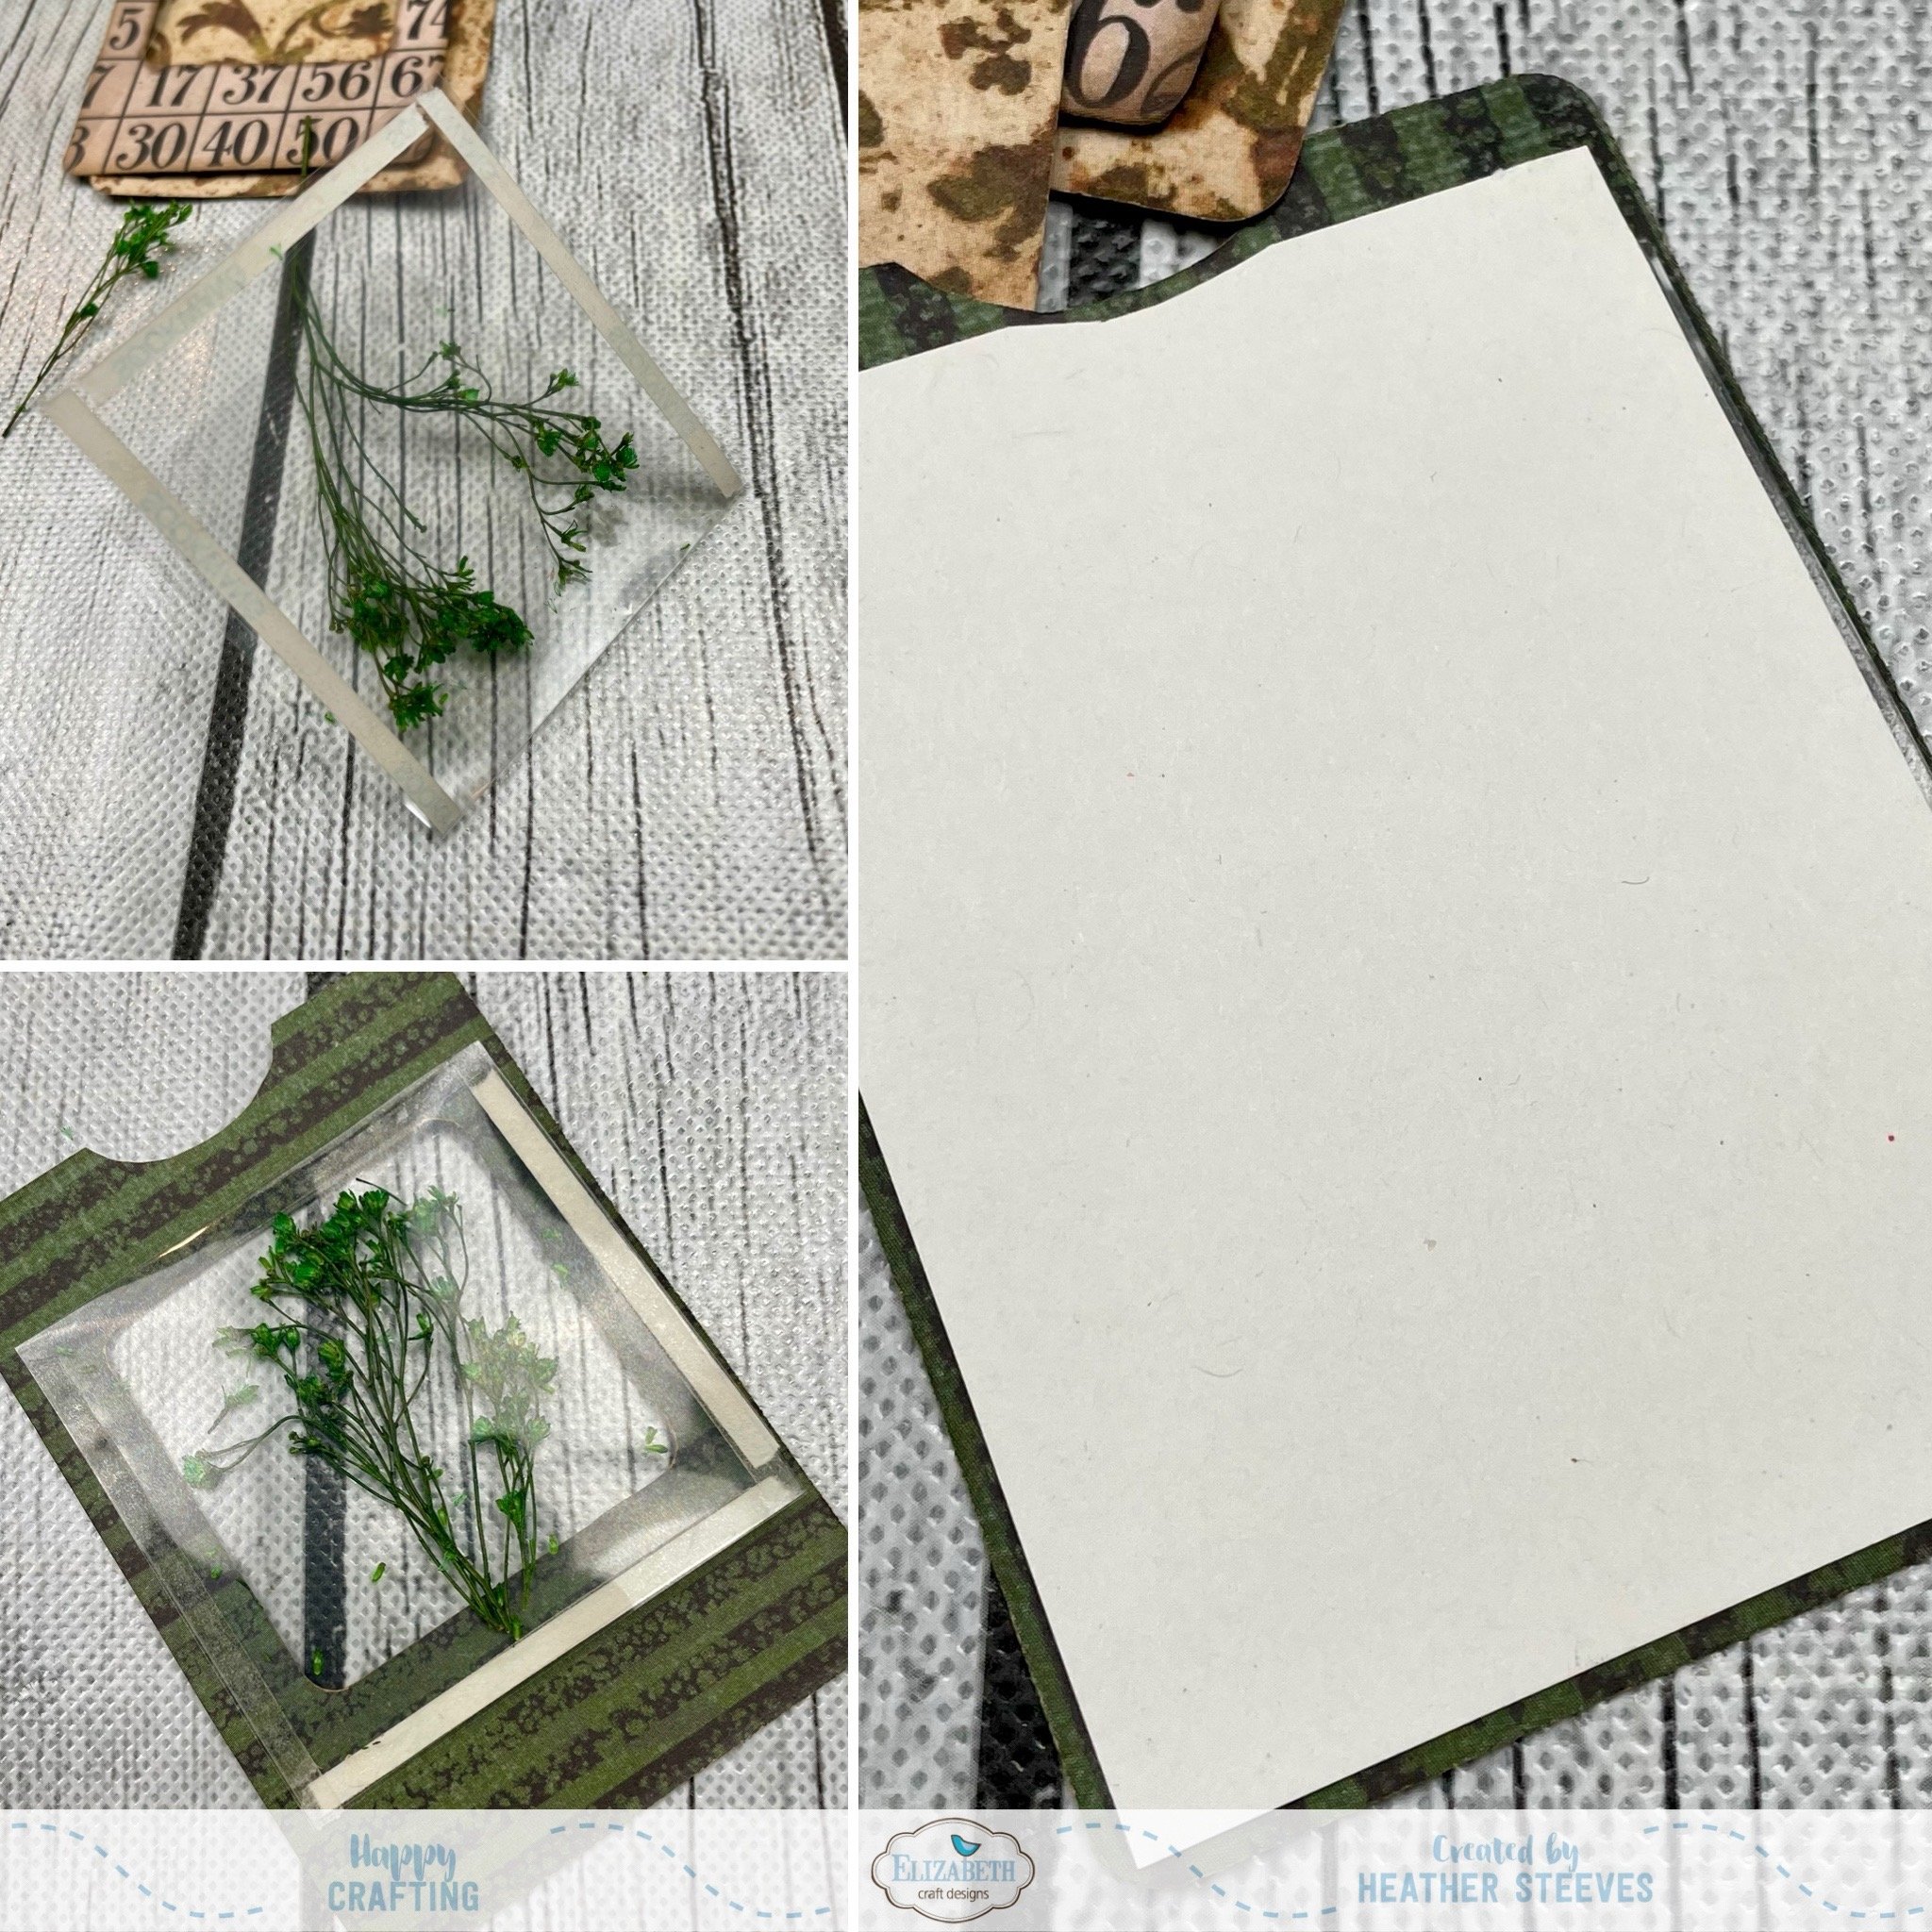
Next, I cut out some cards and ATC bases, as well as a ticket from Reminiscence The Book 5. I used the ATC base die to cut the cards and just cut the top notch with my scissors. I also cut out the window out with my scissors.

Then I took some acetate and made a little pocket to hold some dried florals I found at a thrift store. I used double sided adhesive to seal the pocket closed and to attach to the card. I covered the back with some off-white cardstock to help highlight the florals. Then I used more double sided adhesive to create a pocket by attaching the card to the ATC base.
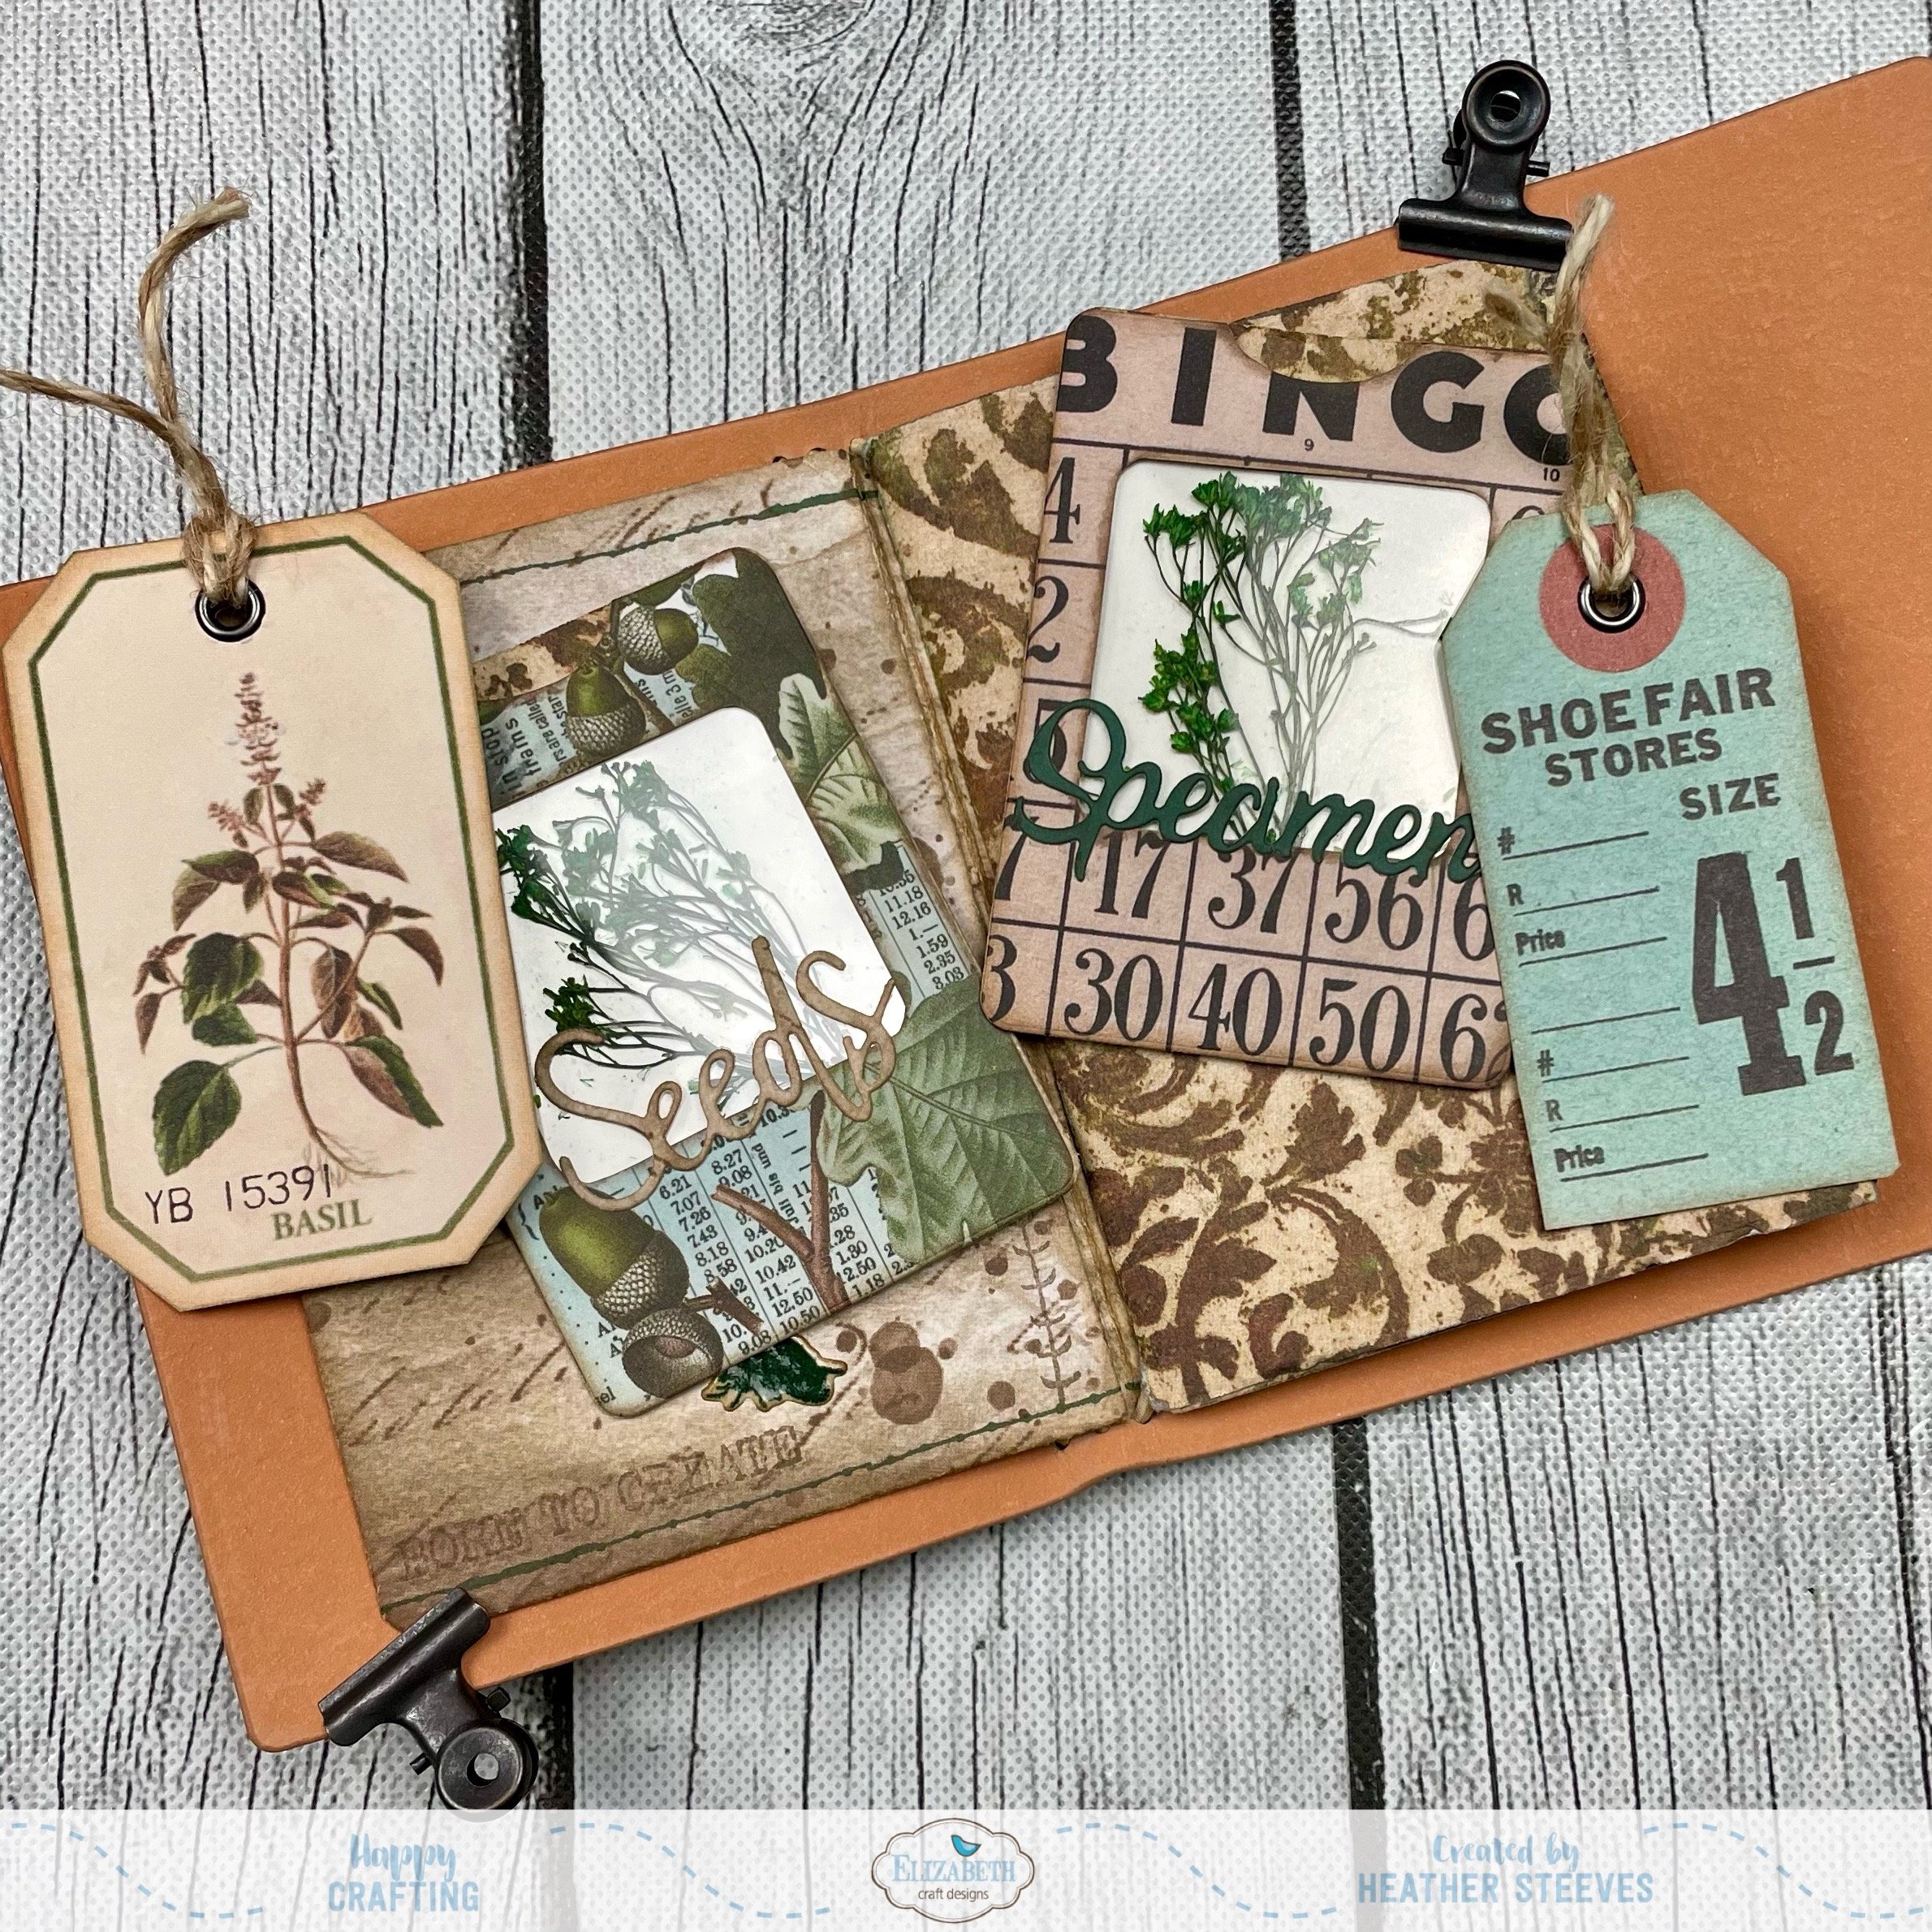
I attached some words I die cut with the Sidekick Essentials 16 – Seed Packet set. I also added the ATC label on the back of these cards.

I added an eyelet to both tags and some twine from my stash.
I really wanted to add a wax seal to this project so I melted some clear beads on parchment paper in my mini pancake maker. I added some bits of the same florals and then pressed with my solid stamp. Make sure to take your melted beads out of the pancake maker before adding the stamp!

I attached the seal over the Journal File XL splatter and Artist Trading Coin wavy circle using some glossy accents.

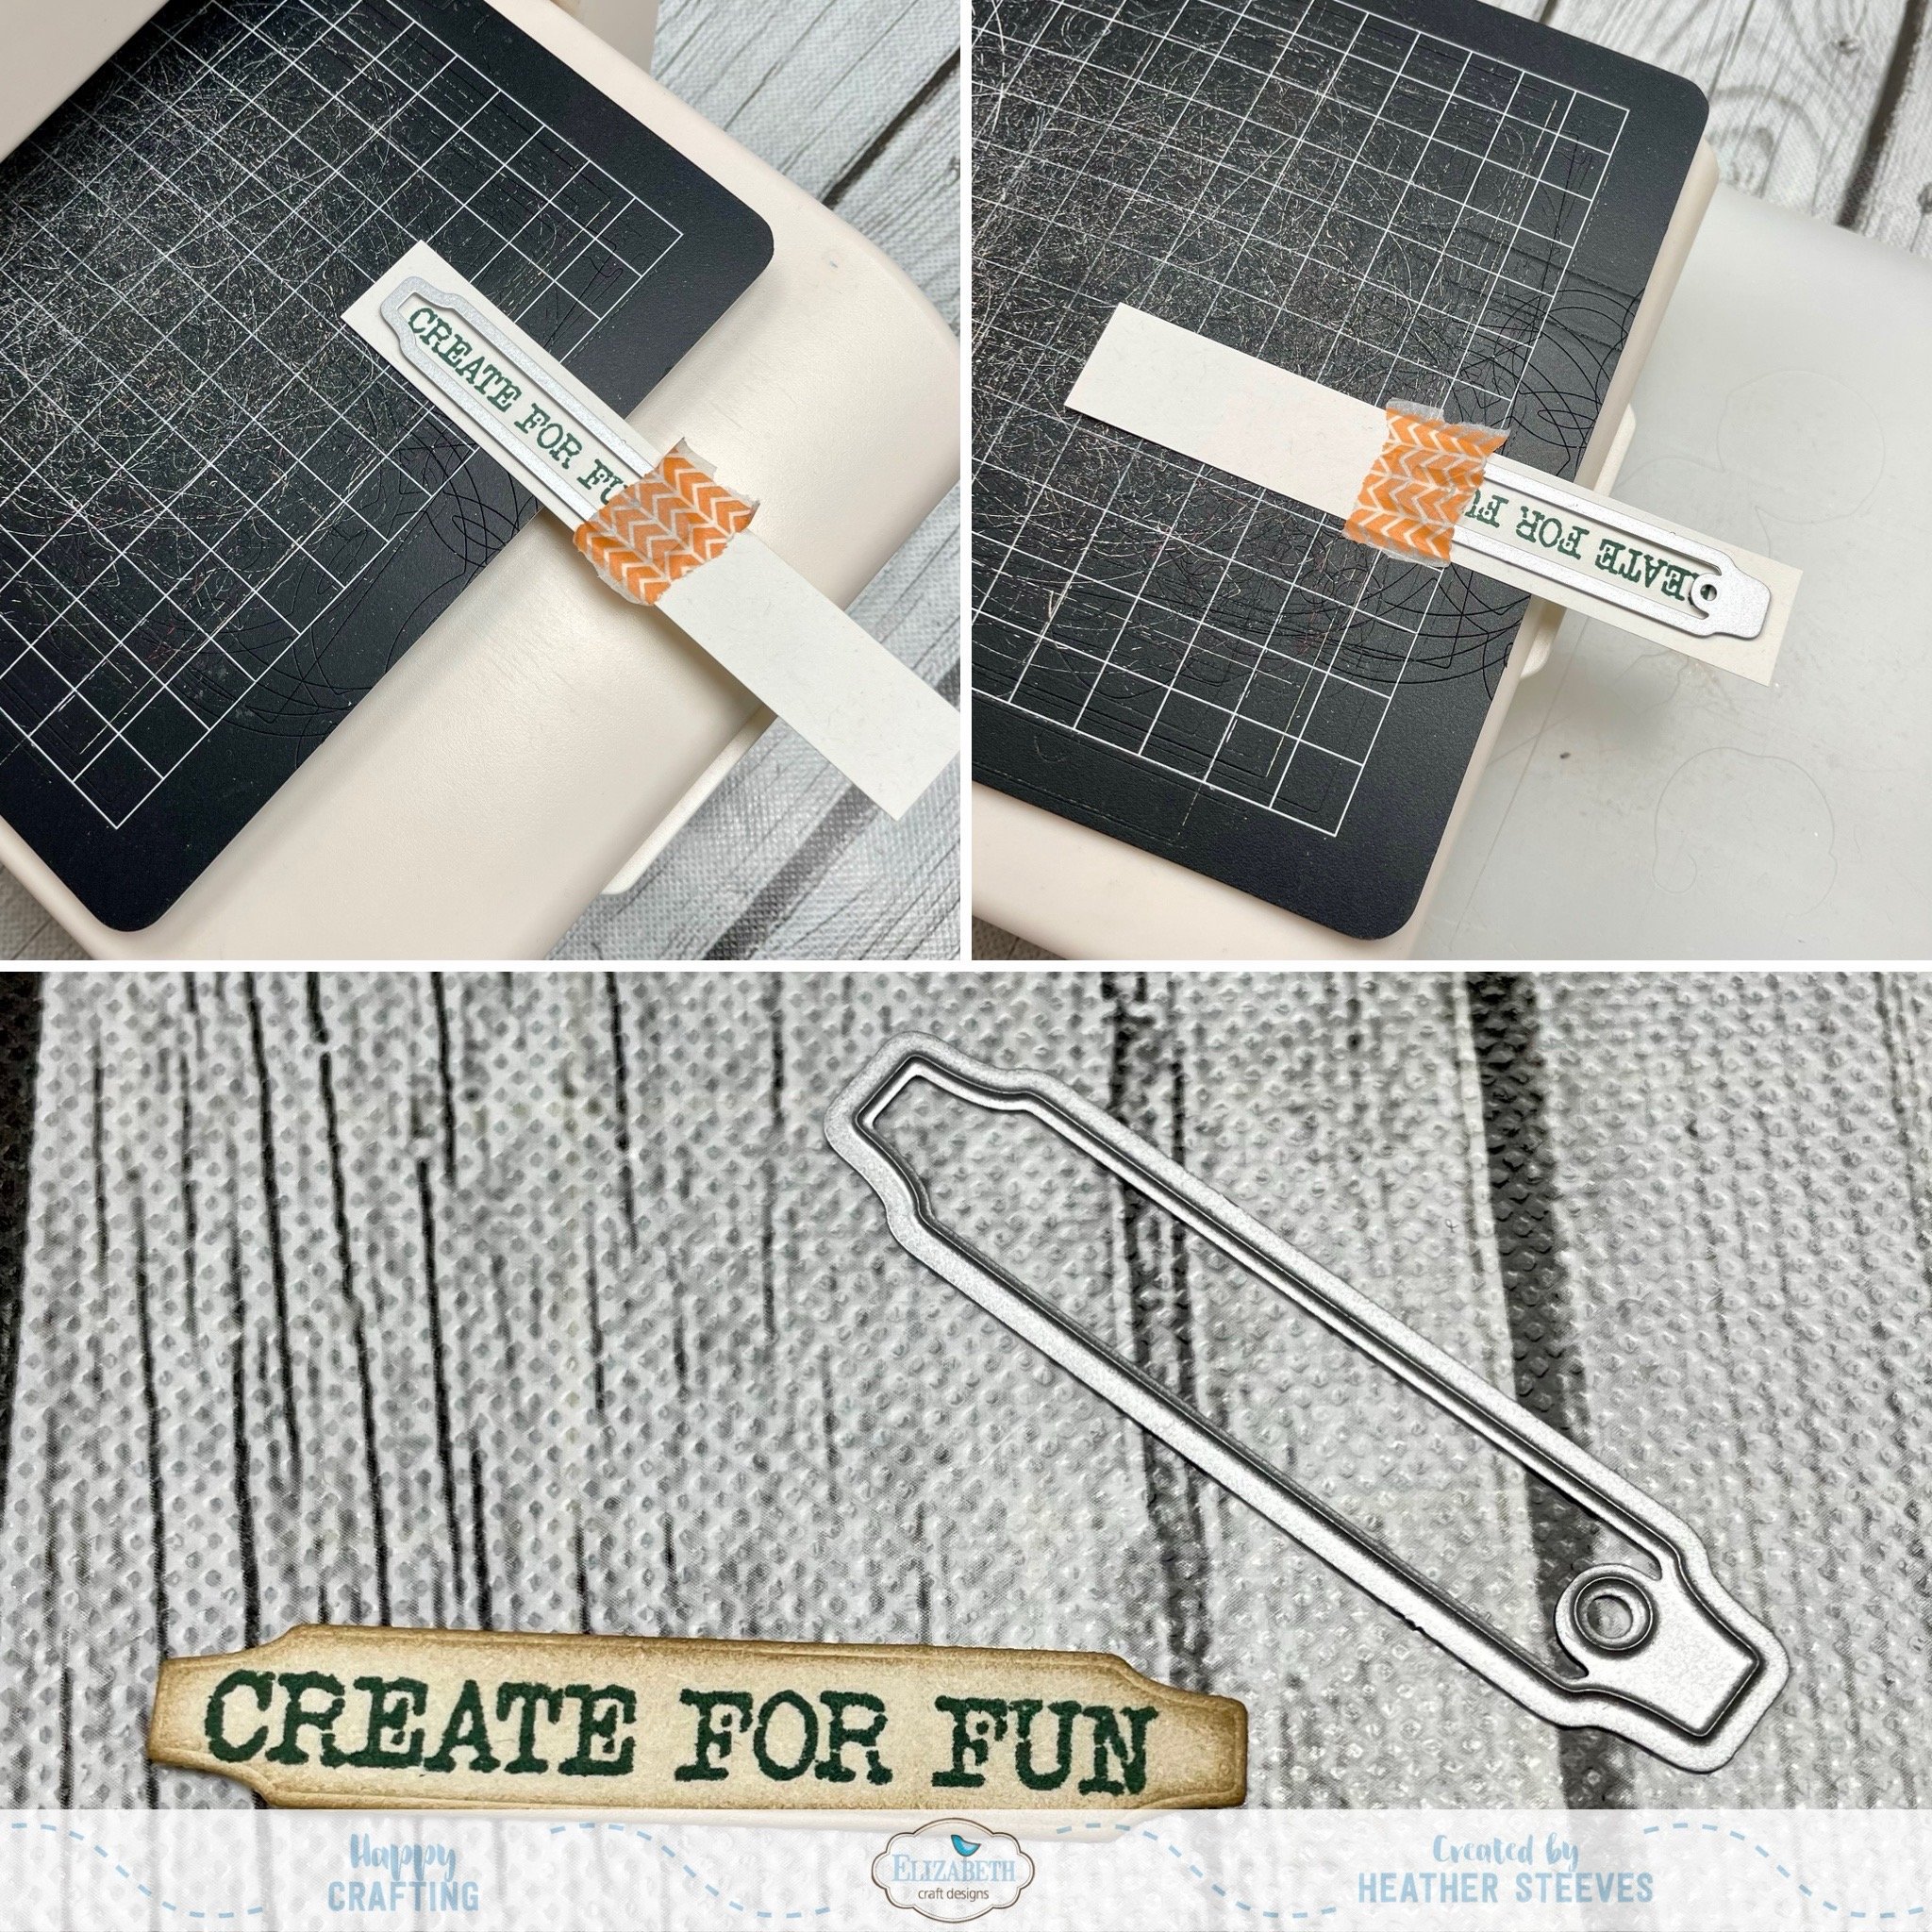
Next, I stamped the words from the Artist Trading Coin stamp and then cut it out with this tag die from the Labels, Tags & More set. I just cut half at a time as I didn’t want the hole on the tag. To do this make sure your die is hanging over the edge of your mat (sandwich) and then run it through the machine. Turn the die to the other side of your stamped image and make sure it lines up with the cuts already made and then run it through the machine again.
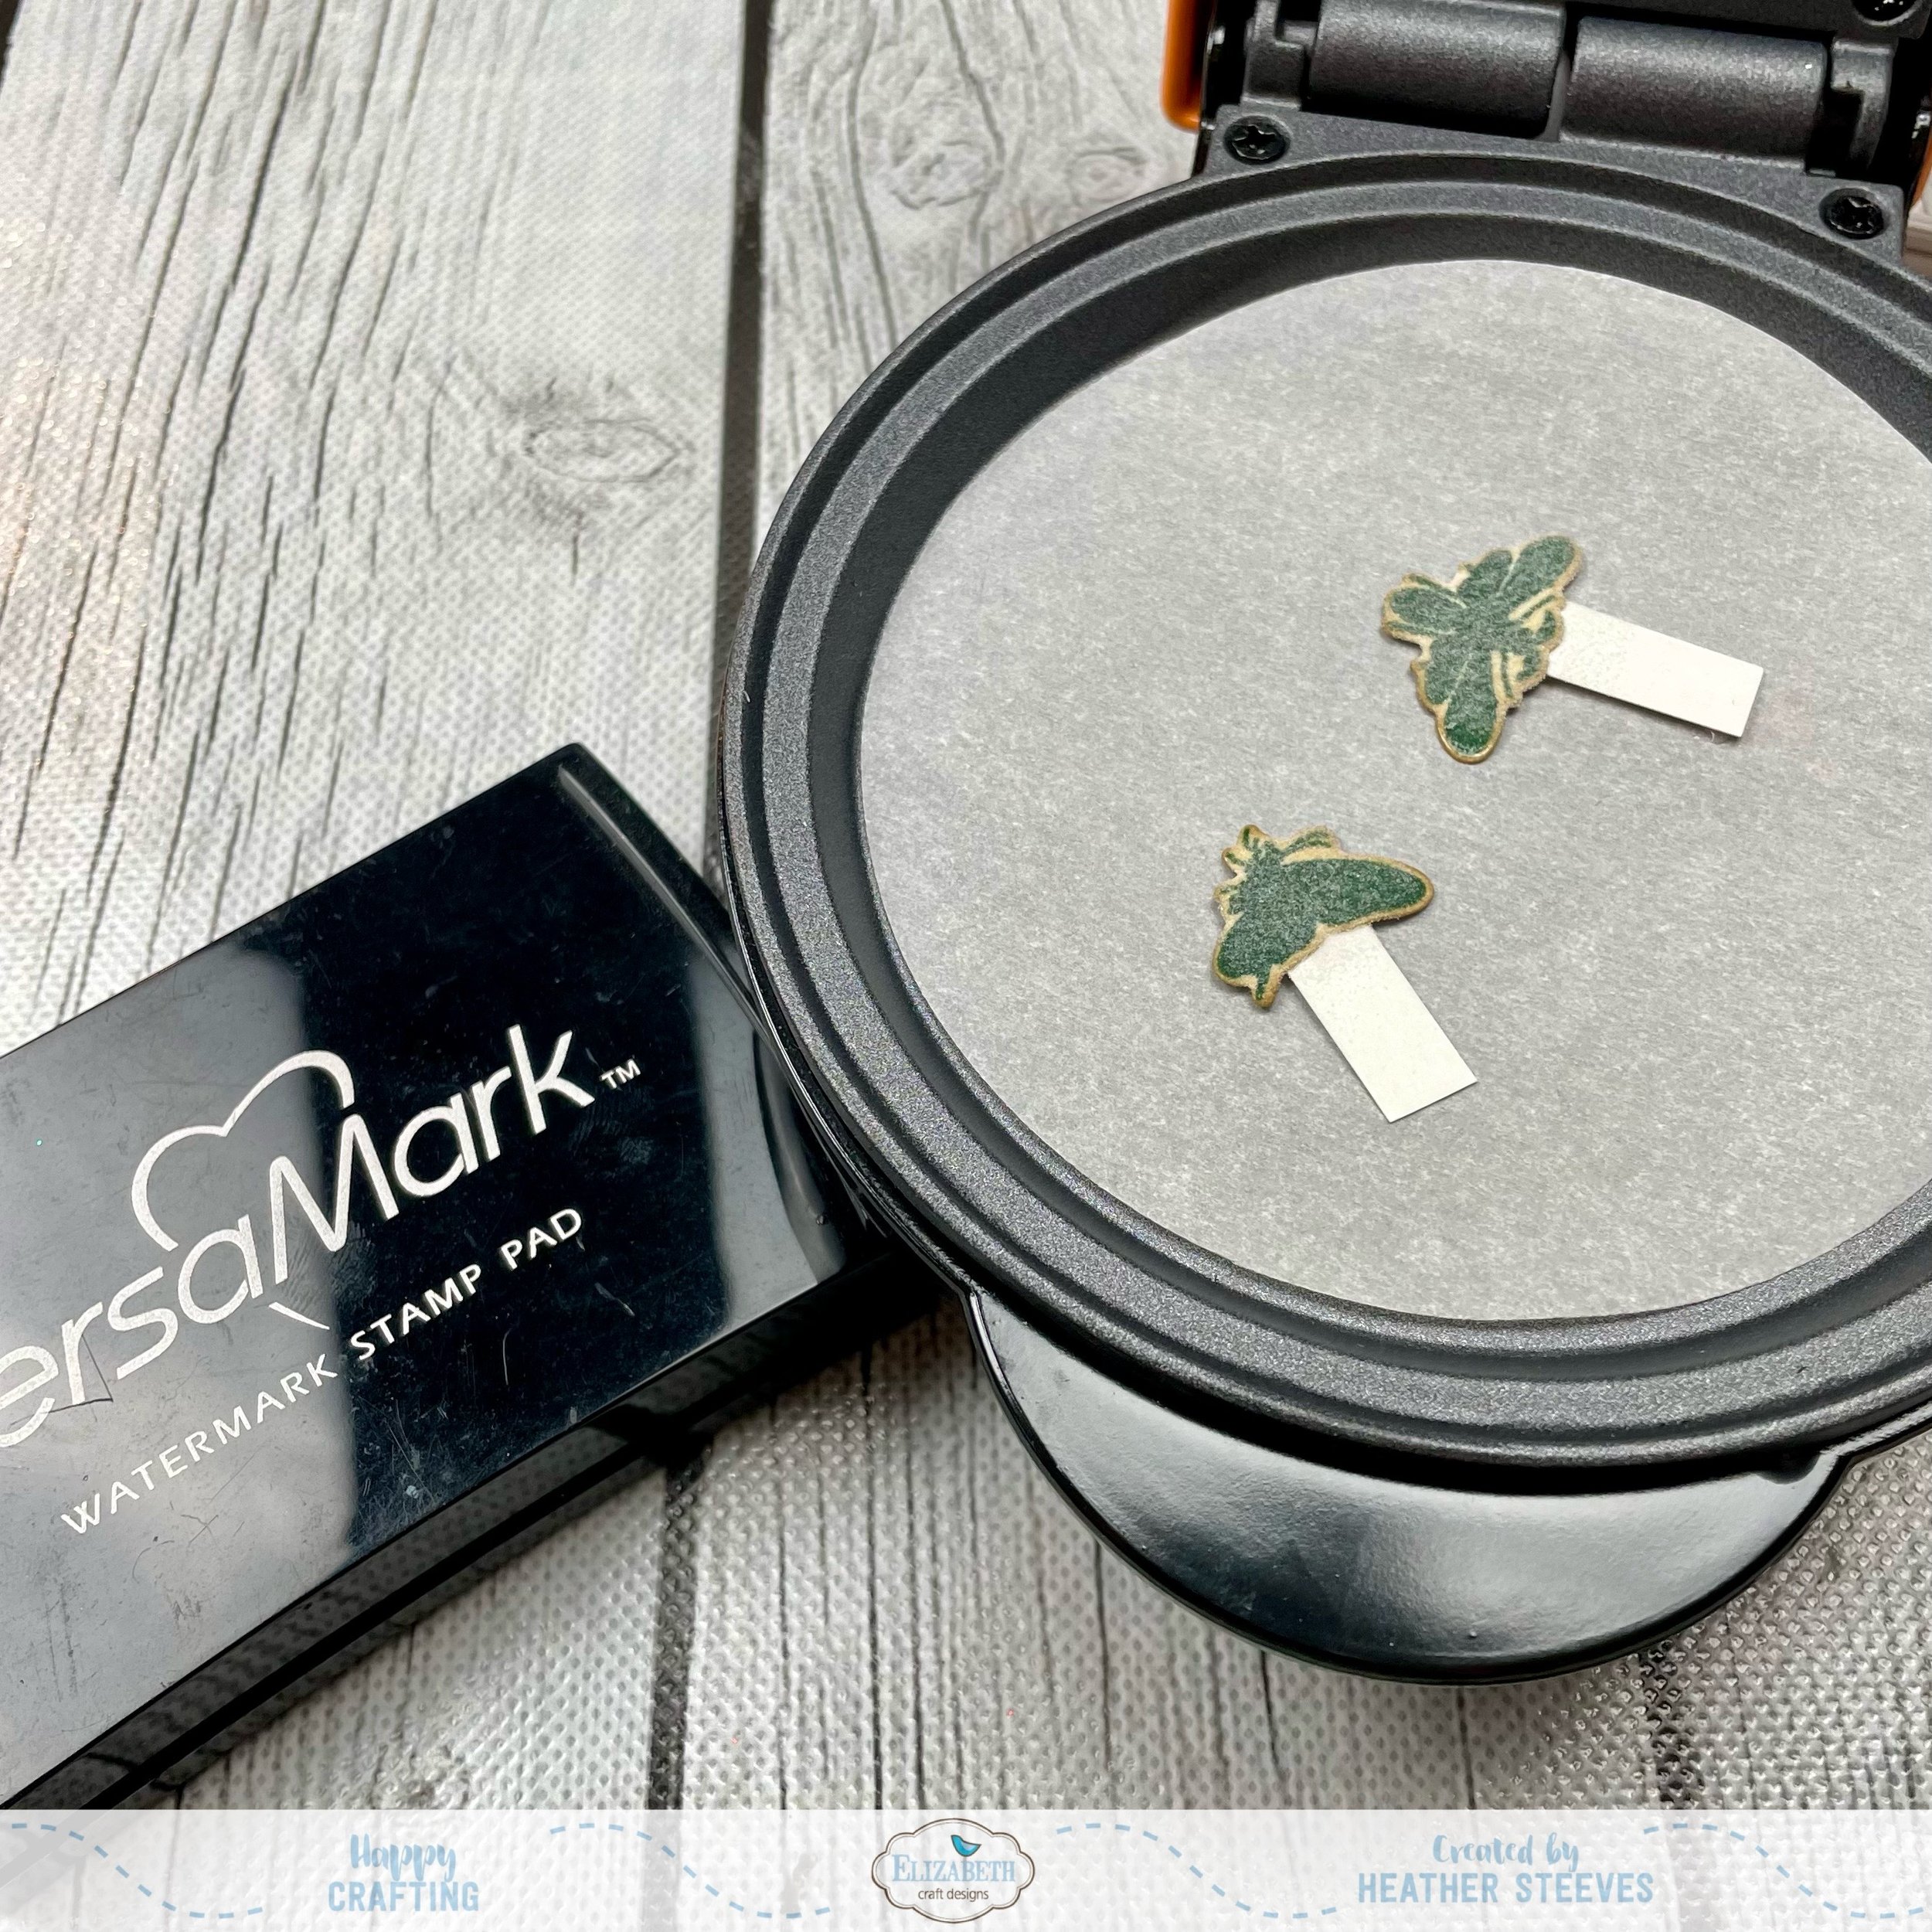
I also wanted to add a couple of little images to the pages, so I stamped and die cut the images. I then ink distressed them to better match the page. Since they are so small they are hard to heat emboss so I added some scrap pieces of paper to the back with some removable adhesive. This allowed me to tap them into the VersaMark pad and then the clear embossing powder. Then I used this little handle to put them onto my pancake maker and remove when melted. Then I just pulled off the handles and attached the images to my pages.
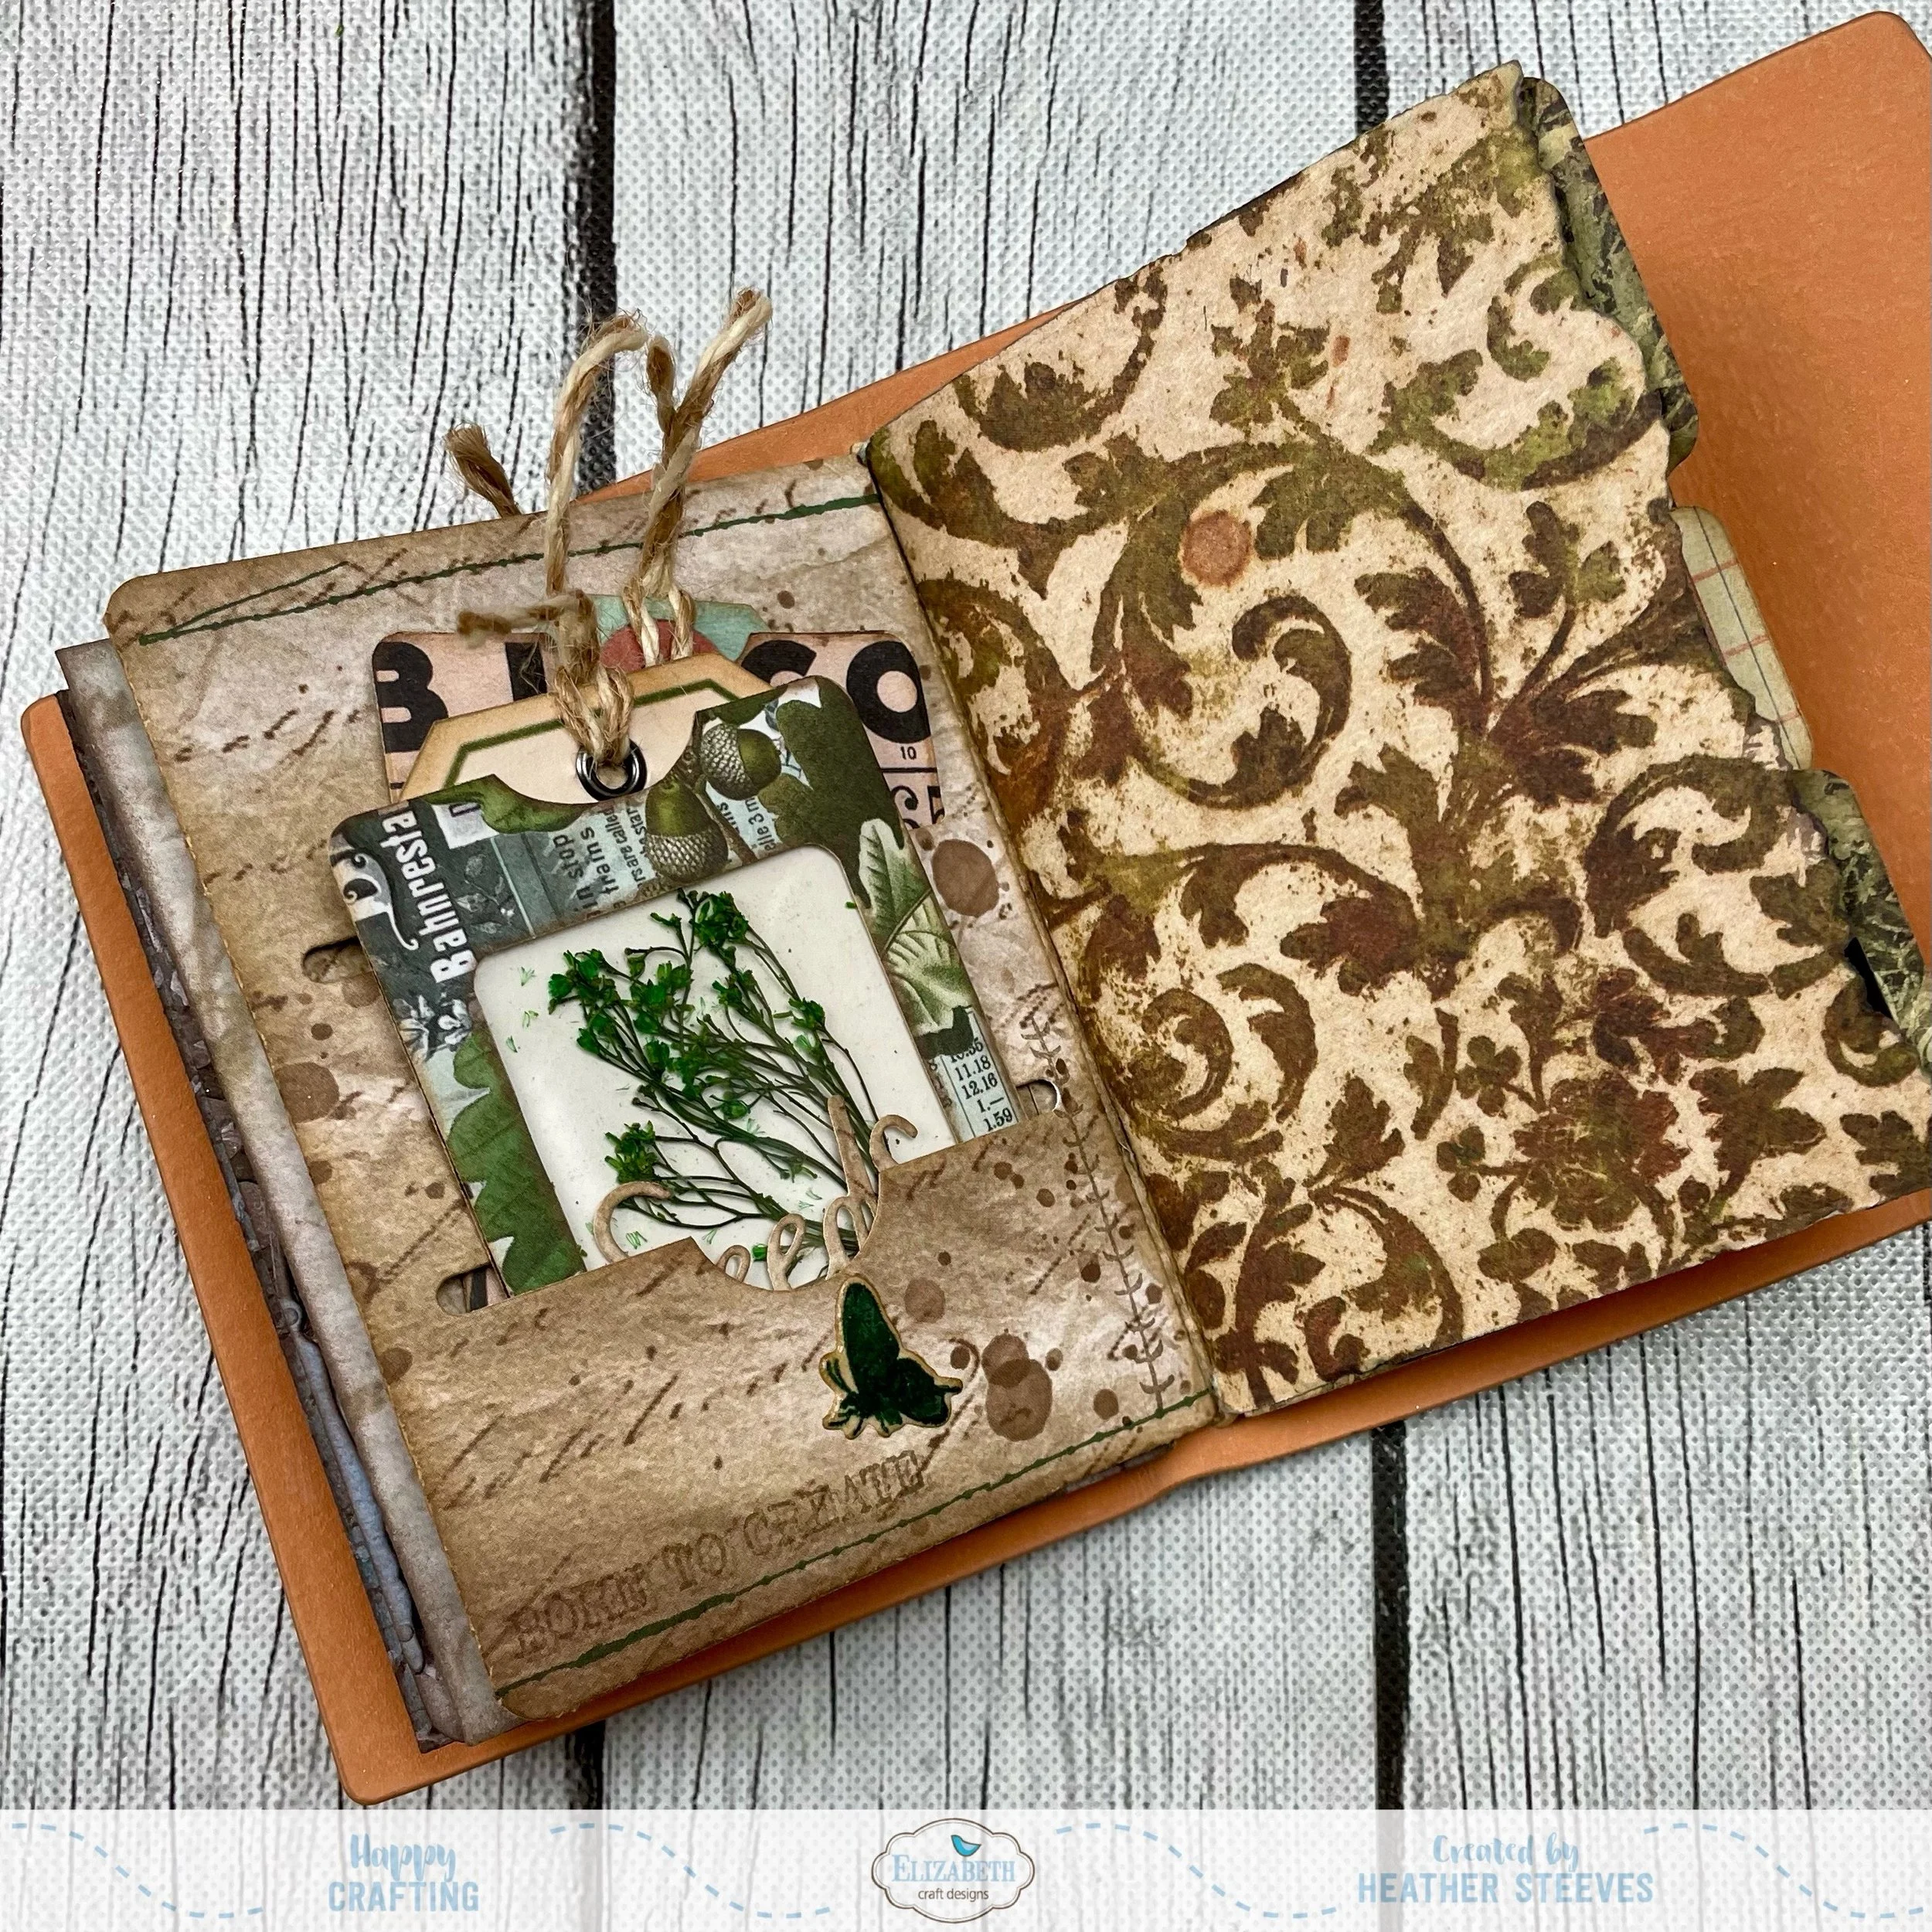
Here is the completed page in my cork journal.

Thank you for stopping by. I hope you enjoyed this post and are inspired to create your own Art Journal pages. Have a wonderful day.
Heather
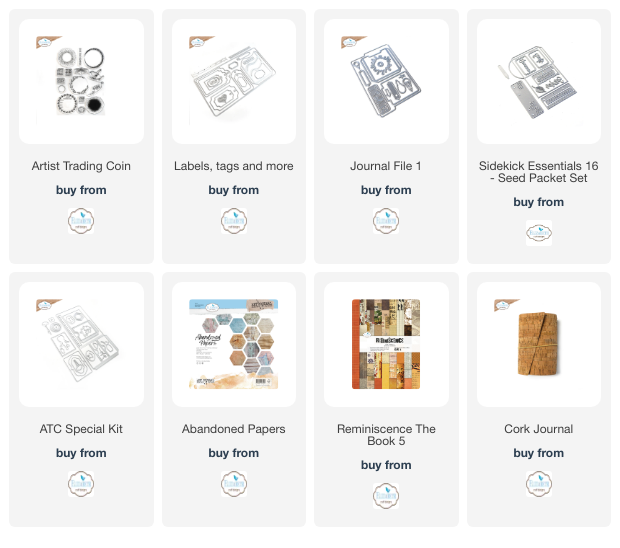
Elizabeth Craft Designs Products used:
.