Baby Chameleon Card
Hi all! Today it’s Sylvia for you on the blog with a cute baby card. As promised a while ago, I will show you step by step how to make a baby chameleon with the latest cute and whimsical collection by Joset. Let’s get started.

Step 1: cut a card of 21x15 cm (8 ¼ x 5 /8 inch) and fold it in half. Cut set 2130 (leaves background) from another piece of card and use it as a stencil to make the background for the chameleons. When done, keep the stencil for another card.


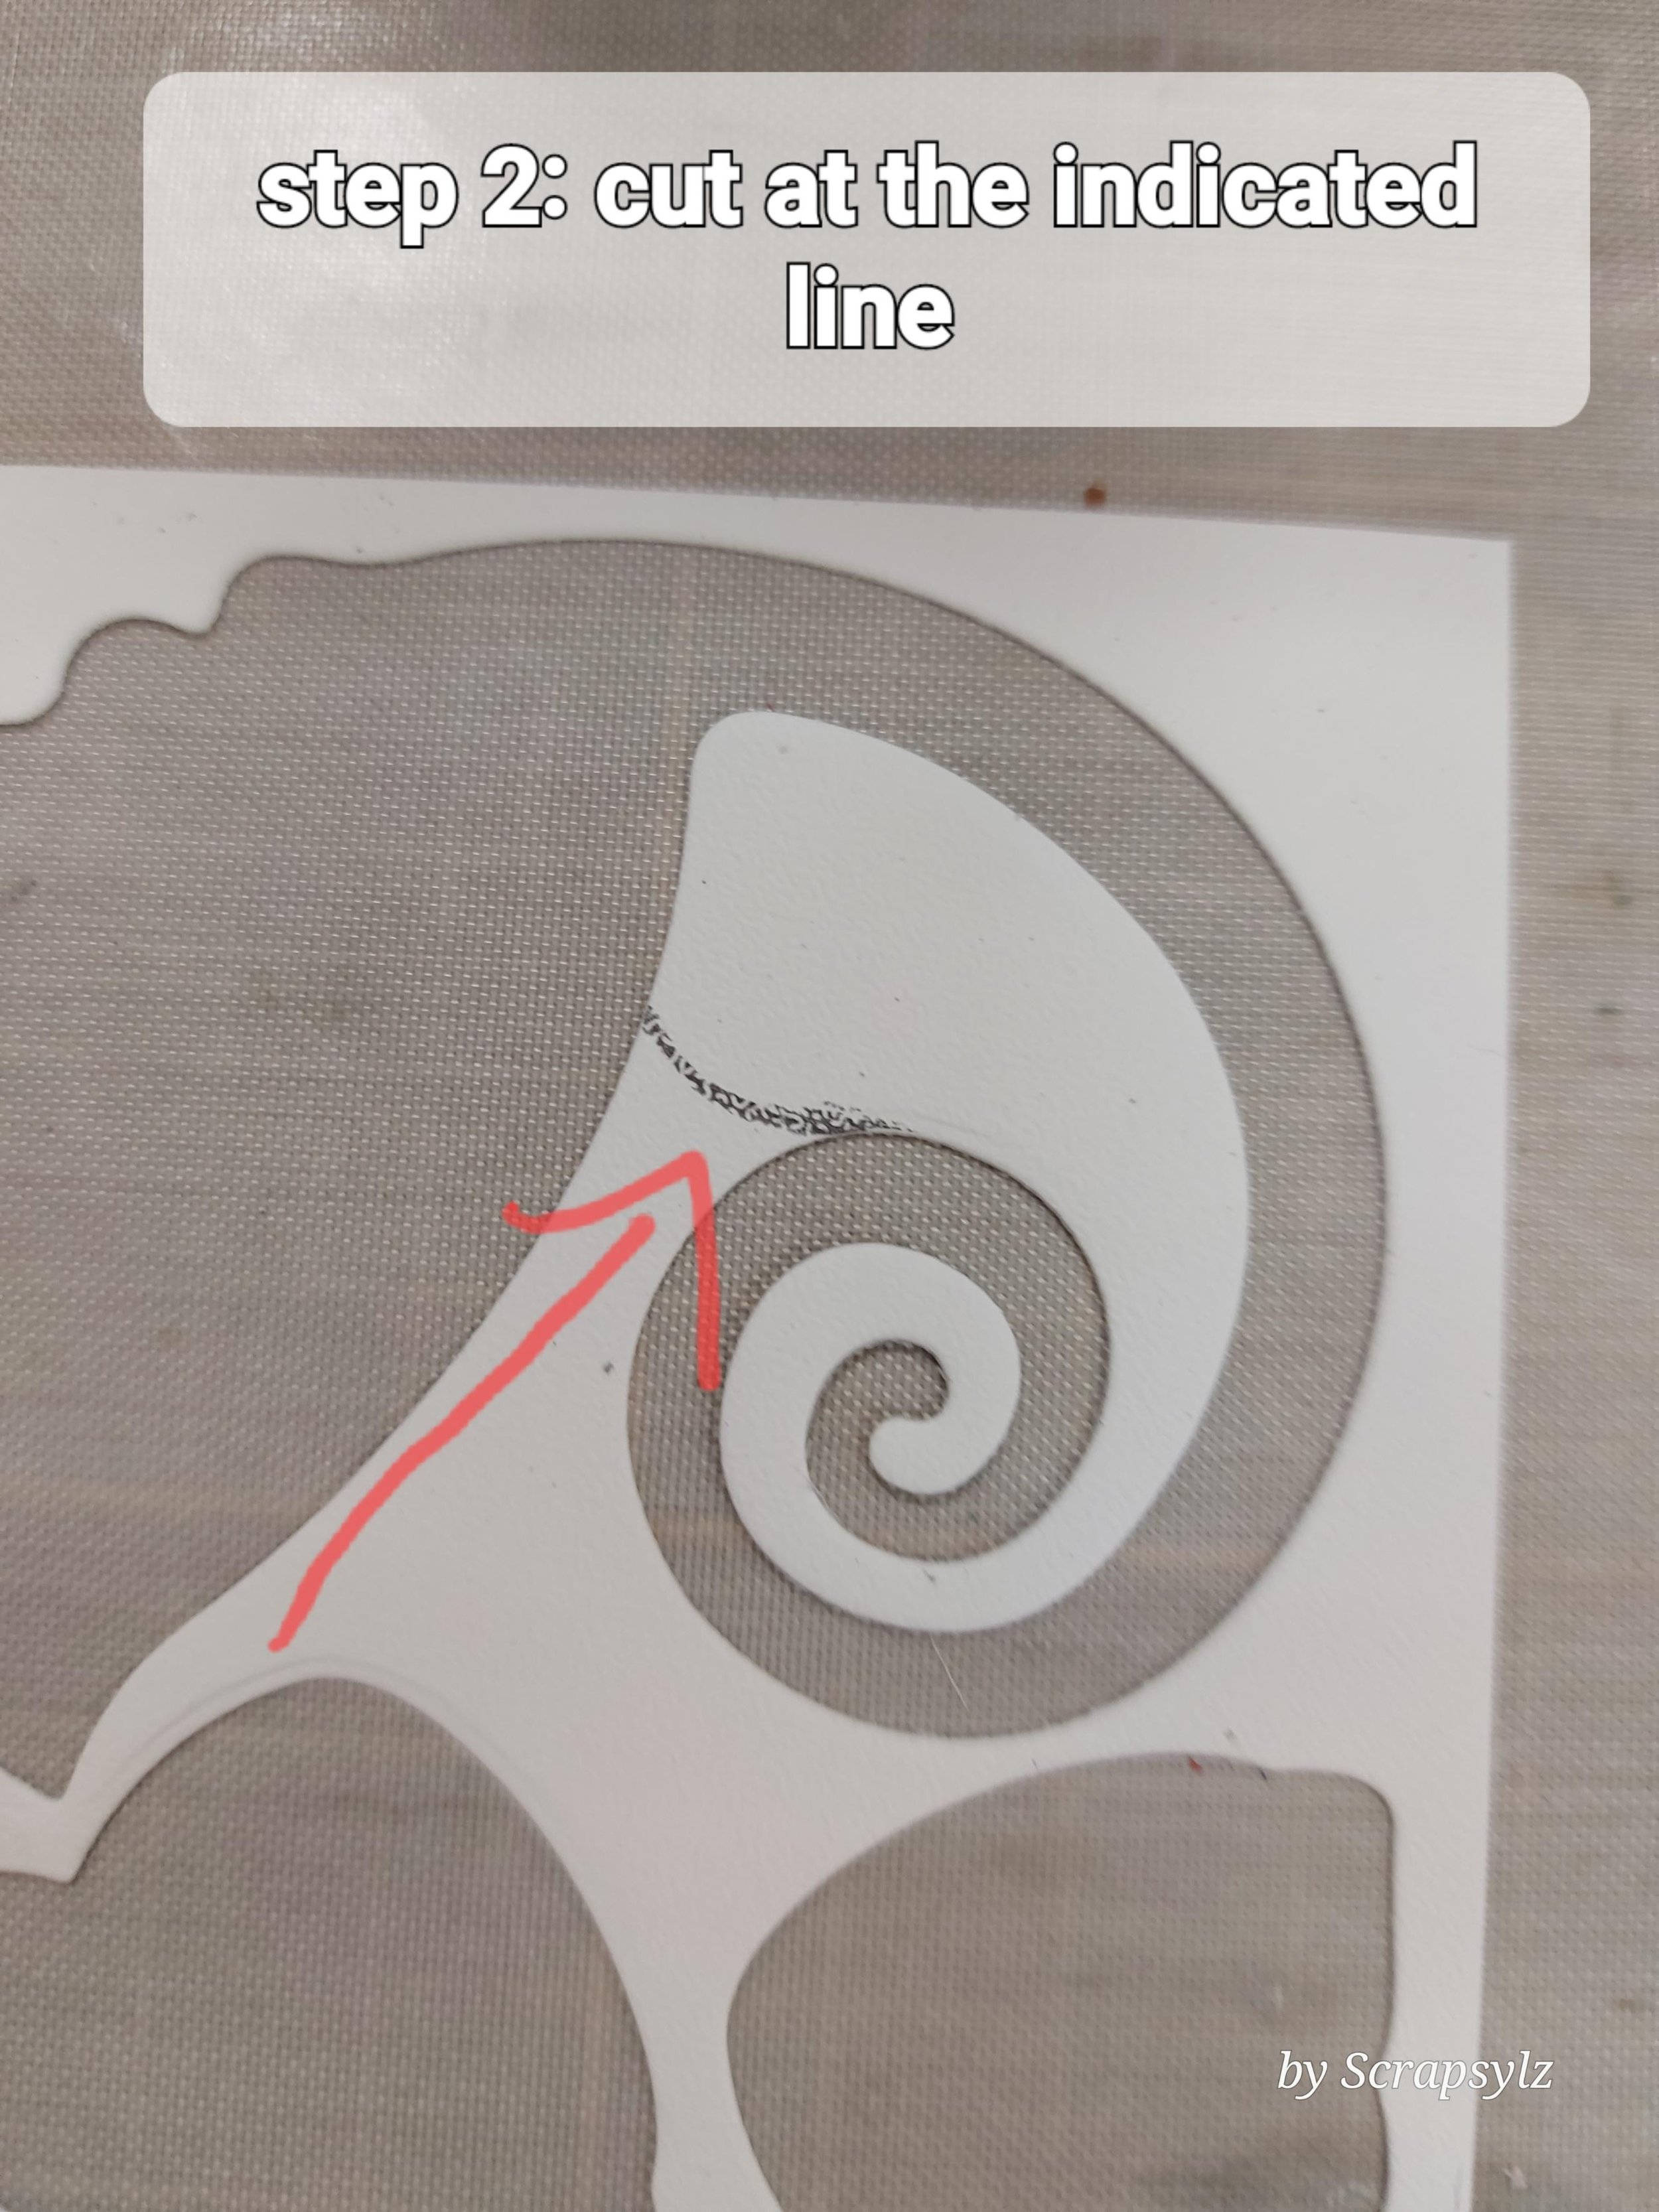
Step 2: cut all parts from set 2128 Spy the chameleon for the papa chameleon, but KEEP the negative to cut the body for the baby chameleon, as shown in the photo. Cut at the indicated line.(see photo for reference).

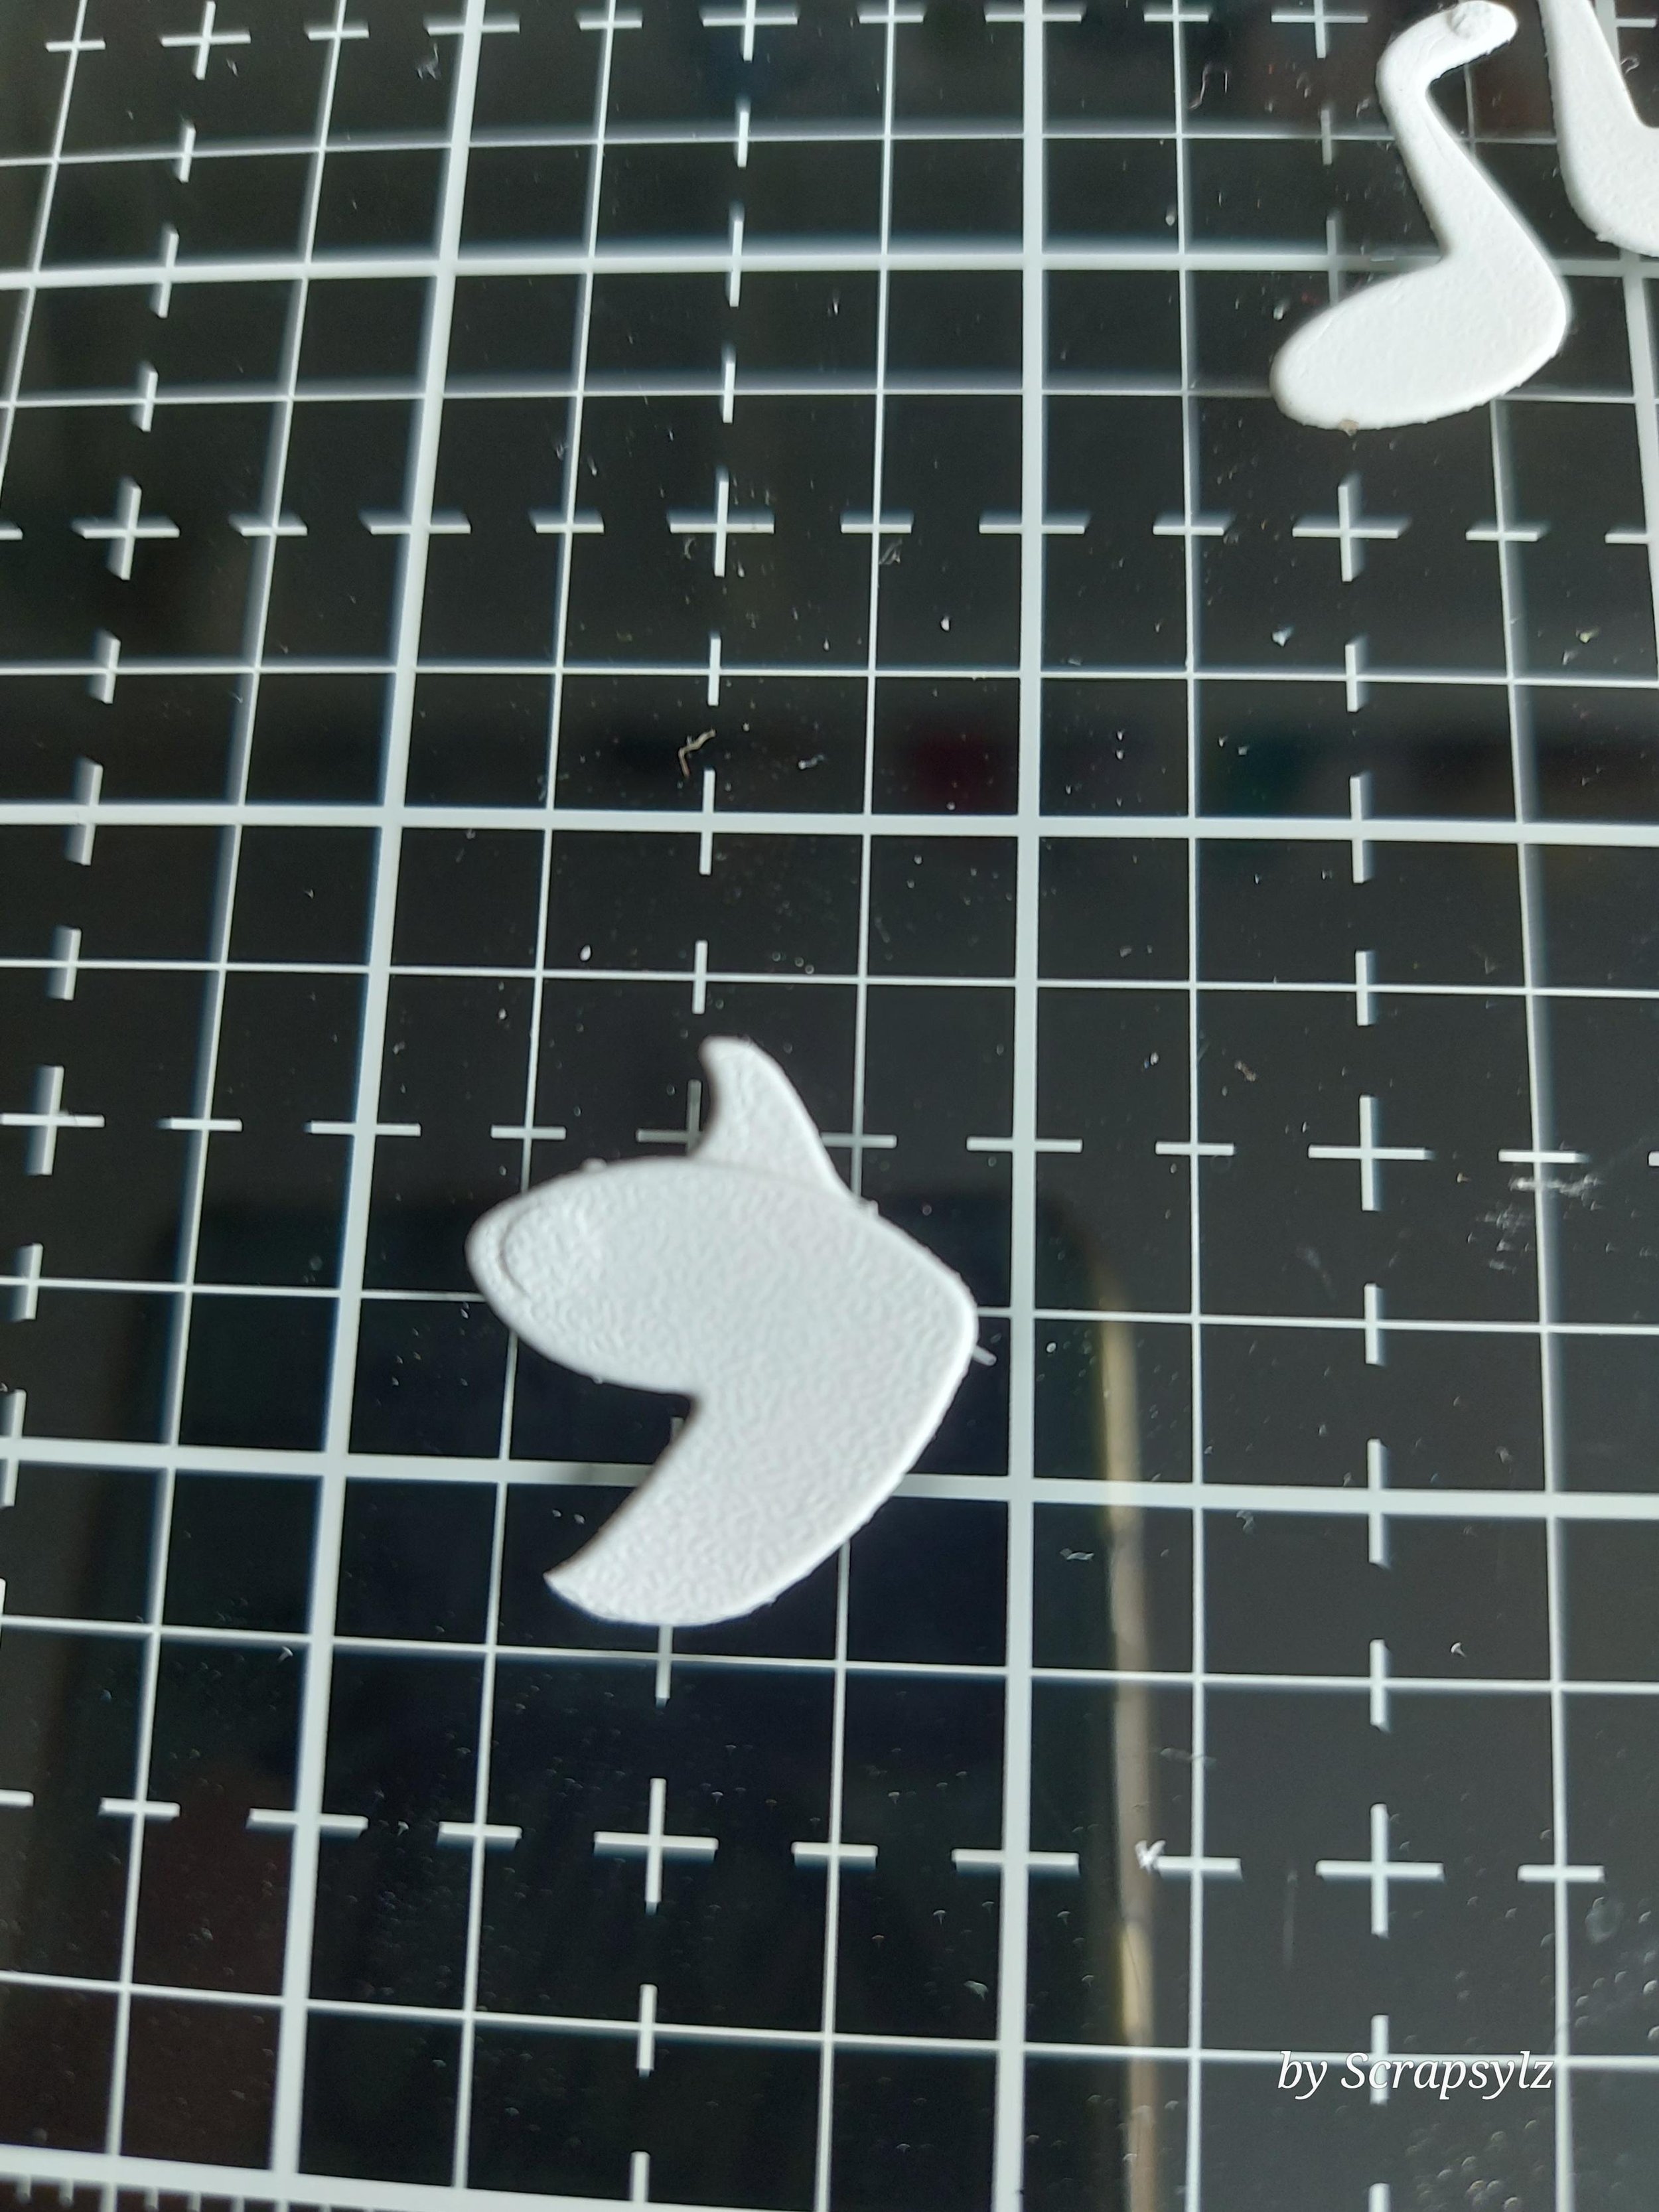
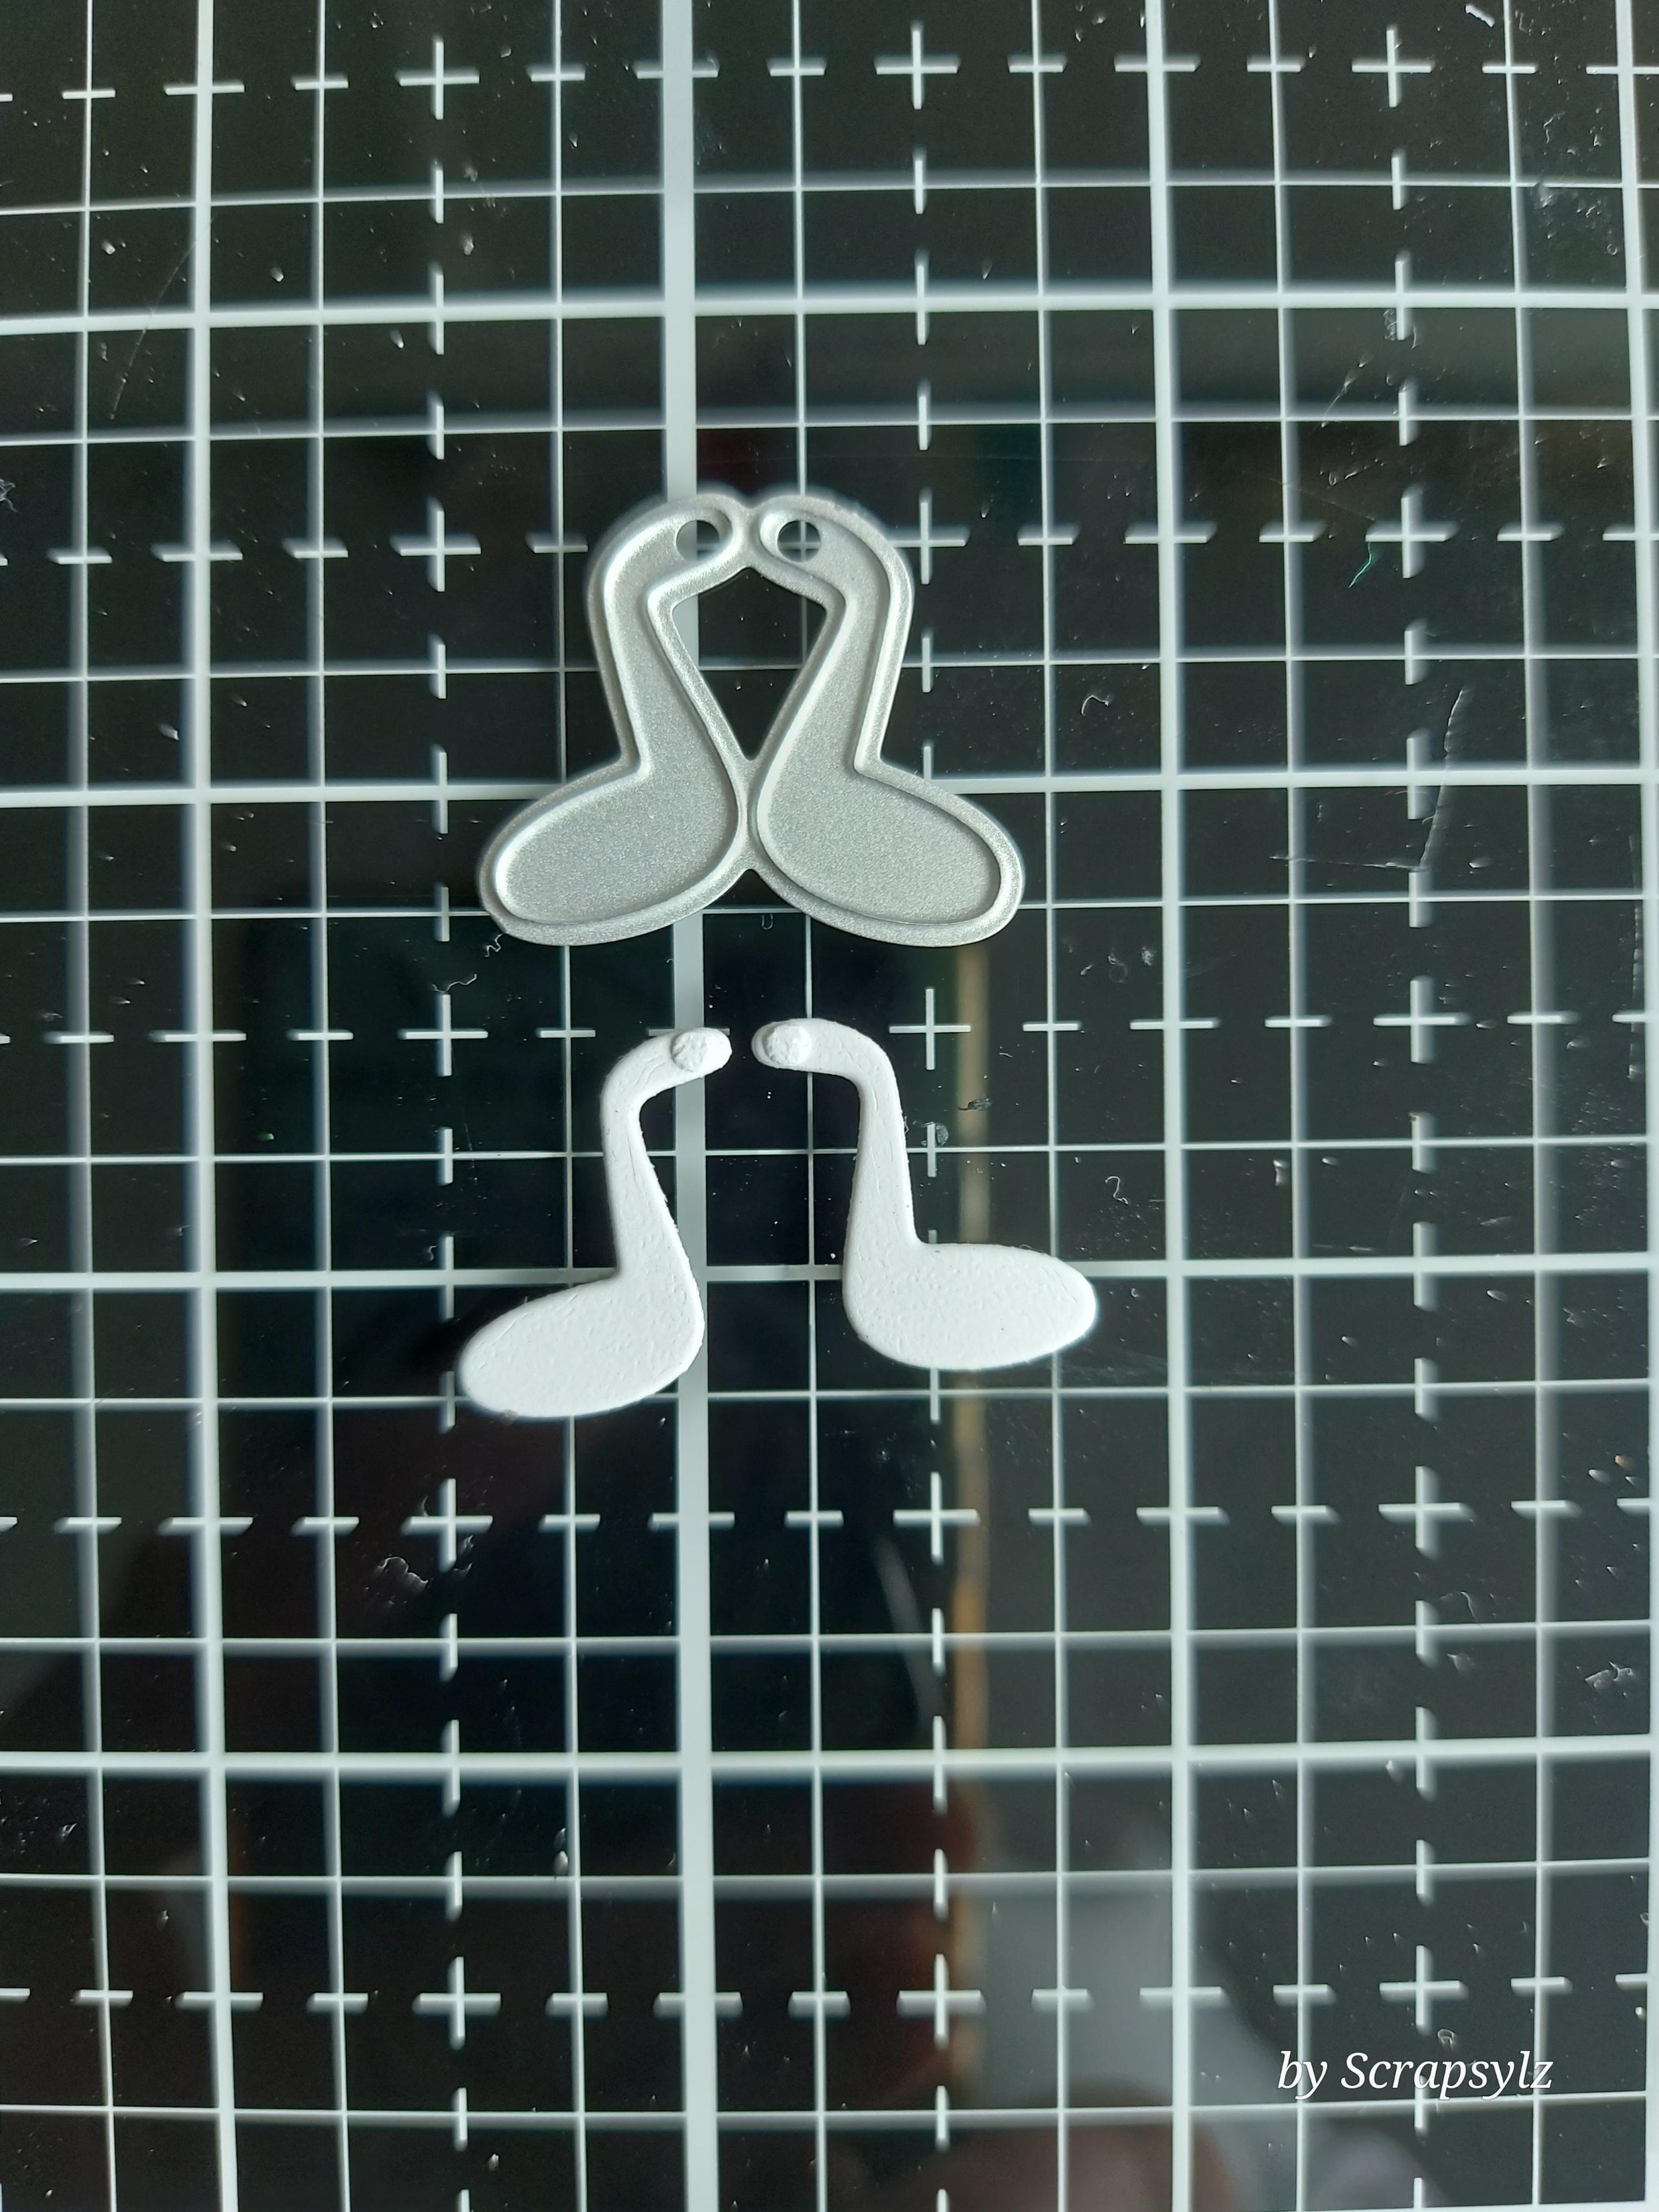
Step 3: cut 1 front leg extra to use as head and forehead of the baby (see photo for reference), cut the ‘moon shaped’ part of the eye 3 x extra (1 for the actual eye, 2 for the feet) and cut 2 legs from set 2059 ladybug for the baby’s legs. Also cut the decoration stripes and save the dropout dots for decoration of the baby’s head. Cut the branch from set 2128 2 x.


Step 4: Colour all parts with a medium and colour of your choice. I used distress oxides in bald blue colours for the papa, and some toned down blue colours for the baby.


Step 5: Assemble papa and baby chameleon and put each of them on his own branch. Arrange the chameleons to the card, using foam tape for the papa.

Step 6: Diecut a banner from set 1329, stamp the sentiment form set CS 349 on a matching piece of cardstock and adhere to the card.
By changing the colours, you can also use this card for a baby girl of course. I hope you like my card and if there are any questions, please feel free to ask. I’d be glad to help you out.
Happy crafting!
Sylvia
Please join my creative FB page
https://www.facebook.com/groups/scrapsylz/
Elizabeth Craft Designs Products used: